
Traditional Cornbread Recipe
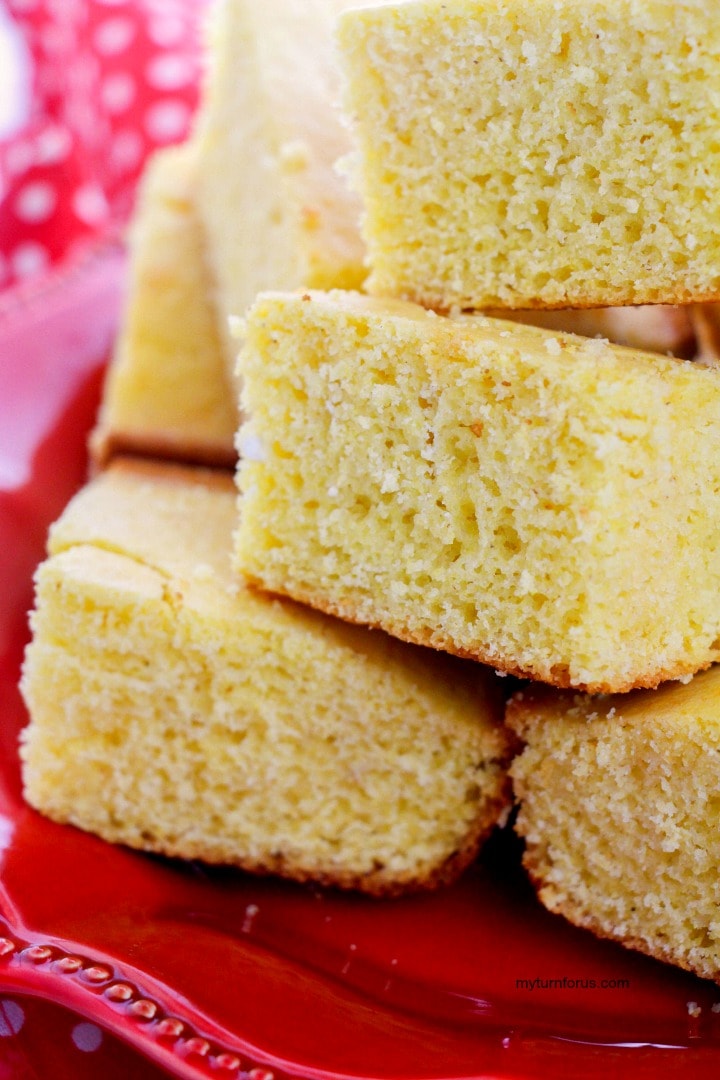
This traditional cornbread recipe is the cornbread I remember growing up with. Mom baked it in a big 9×13 pan, and we always reached for those golden corner pieces first. It’s moist and tender inside with lightly crisp edges, and it still tastes like home to me.
We ate cornbread with just about everything, but especially beans, fried taters, canned tomatoes, and macaroni. Funny how we didn’t appreciate those simple meals nearly as much then as I do now.
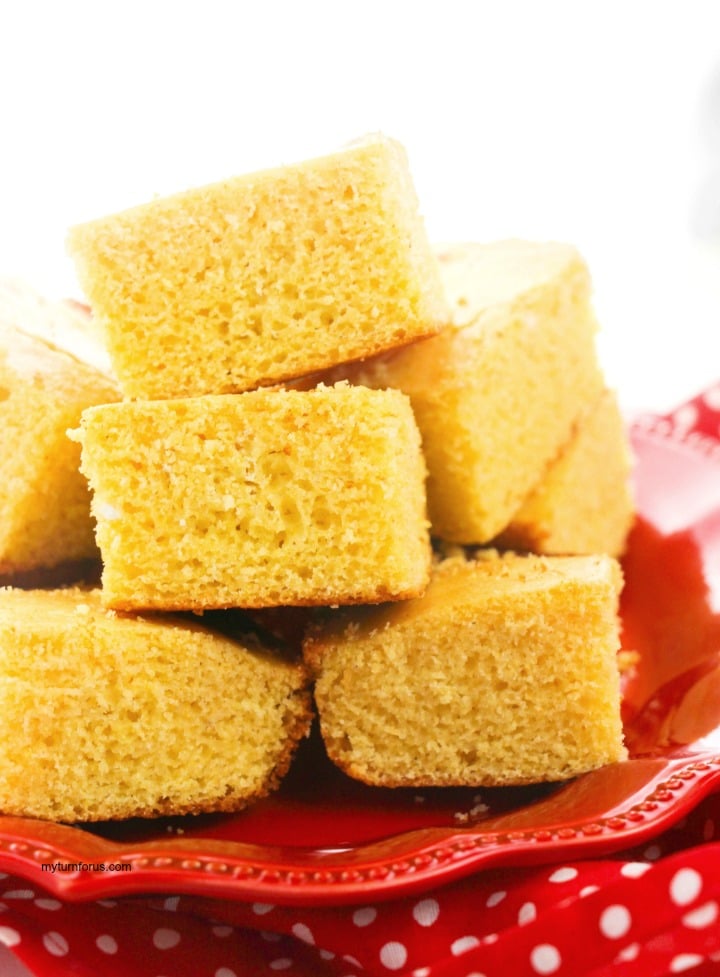
Old Fashioned Cornbread Just Like Mom Made
Did you grow up eating big squares of cornbread? Oh my goodness, we certainly did.
This post contains affiliate links, which means if you make a purchase, we might receive a small commission at no additional cost to you. Please read our Disclosure Policy.
Mom always made hers in a large baking pan because there were plenty of us to feed, and Dad loved the leftovers. I still prefer making cornbread this way because you get plenty for supper, plenty of golden edges, and usually a few pieces left for the next day.
This is the same kind of down-home cornbread I like to serve with our Texas Pinto Beans. It also makes a good side for ham, chili, soups, and so many of those simple meals we grew up eating.
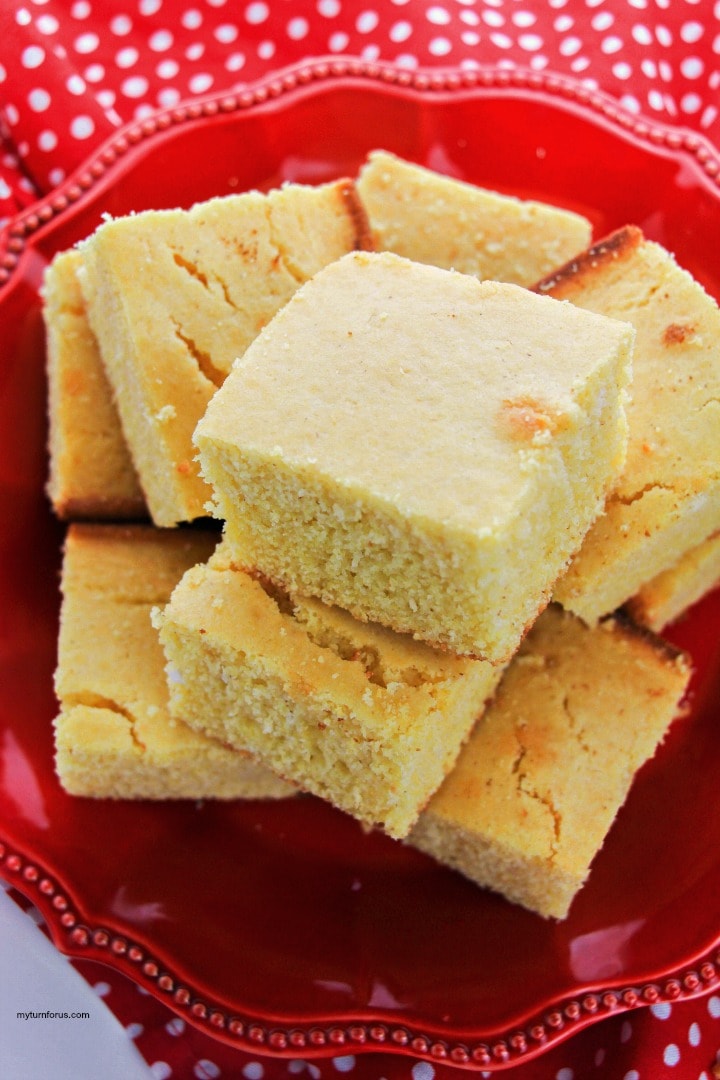
Why I Love This Cornbread Recipe and You’ll too
There’s nothing complicated about this one, and that is exactly why I still enjoy making it.
- Those golden edges and corners are still my favorite part.
- It bakes in a 9×13 pan, so there is plenty to go around.
- The yellow cornmeal gives it the flavor and texture I remember.
- Buttermilk and butter keep the cornbread tender and moist.
- A little sugar gives it just enough sweetness without turning it into cake.
Key Ingredients
Yellow cornmeal: I use yellow cornmeal because it gives this cornbread that familiar color and good corn flavor. It also gives the bread a little texture without making it dry.
Buttermilk: Buttermilk adds moisture and a little tang. I prefer it here because it helps give the cornbread a softer crumb.
Butter: Real melted butter adds flavor and richness. This is one of those simple recipes where good butter really does make a difference.
Sugar: I know sugar in cornbread can start quite the discussion. Mom’s version had some sweetness, so that is how I make mine. It balances the cornmeal and helps keep the crumb tender.
Equipment needed:
- 9 X 13 Baking Pan
- Mixing Bowls
How to Make Traditional Cornbread
The complete recipe is in the recipe card below, but here is how I prepare it step by step.
Step 1: Mix the Cornmeal and Flour
Preheat your oven to 400°F and generously grease a 9×13-inch baking pan.
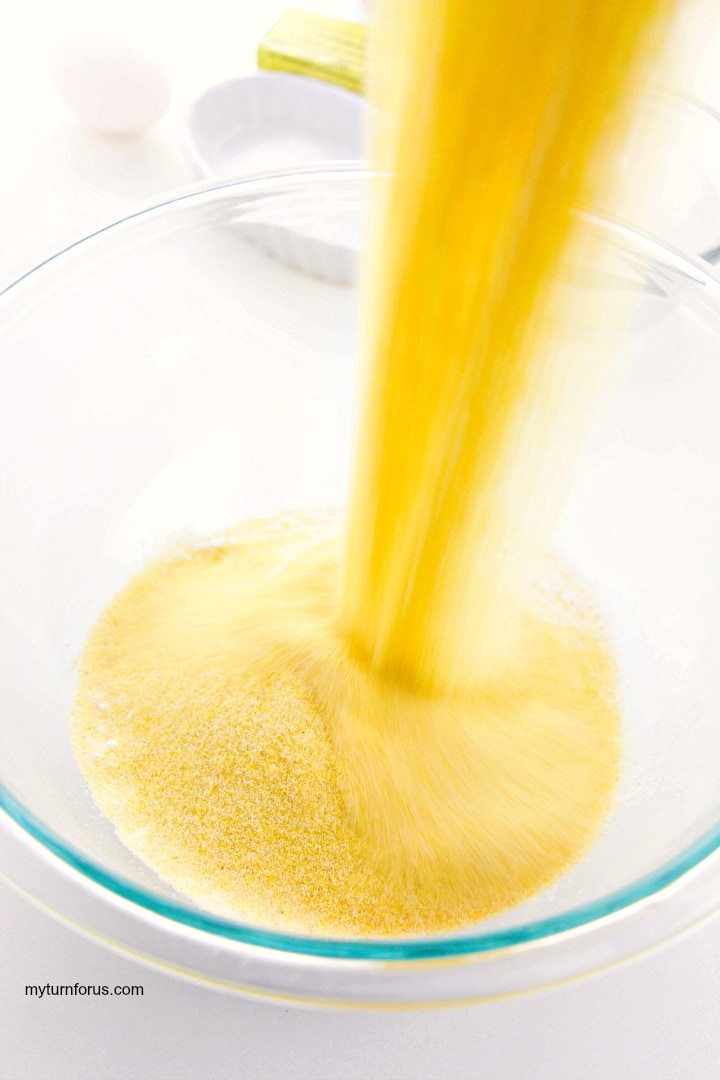
In a large mixing bowl, combine the yellow cornmeal and flour.
Step 2: Add the Remaining Dry Ingredients
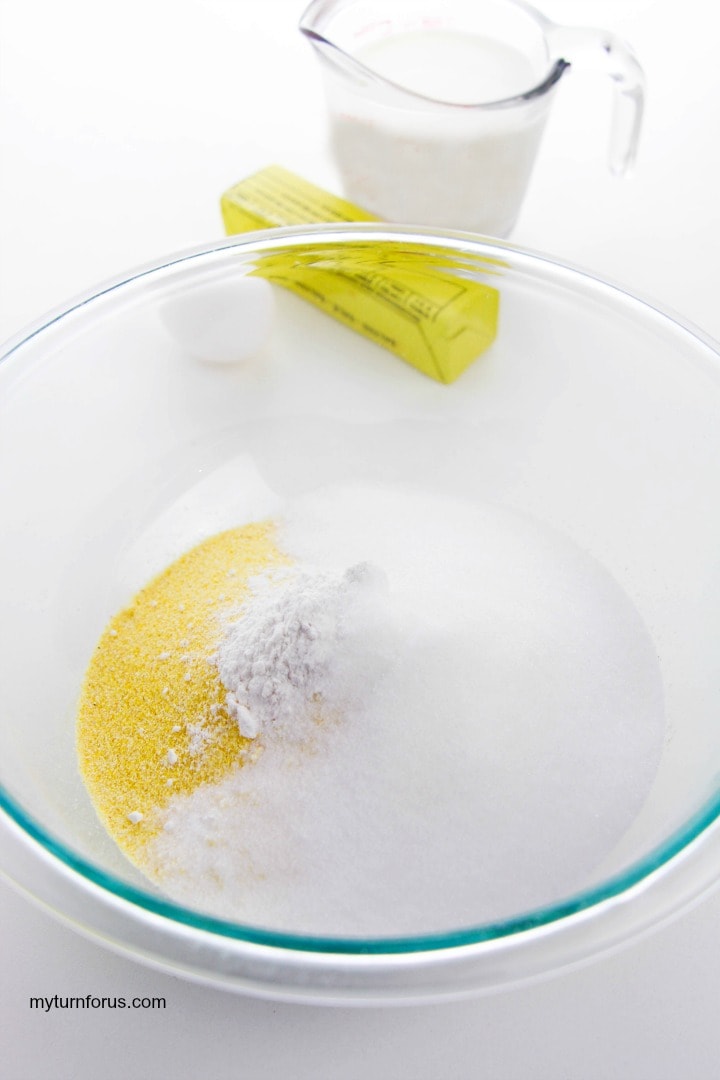
Add the sugar, baking powder, and salt. Whisk everything together so the baking powder and salt are evenly distributed throughout the cornmeal mixture.
Step 3: Add the Buttermilk, Eggs, and Butter
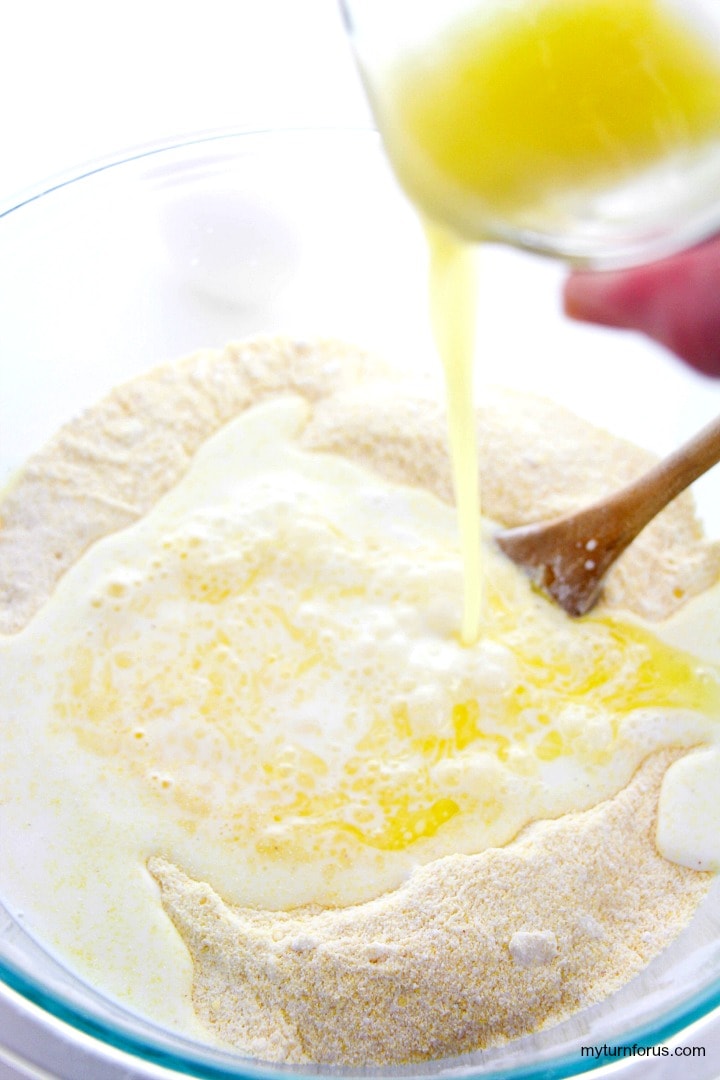
Make a well in the center of the dry ingredients. Pour in the buttermilk, beaten eggs, and melted butter.
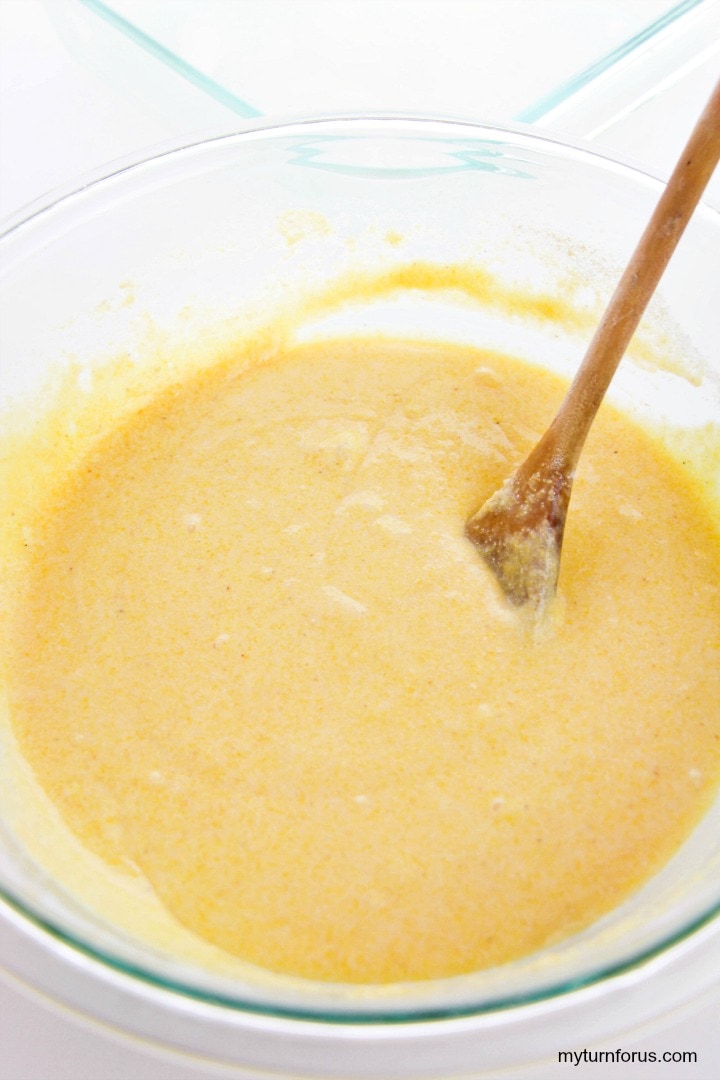
Gently stir from the center outward until everything is combined.
I stop mixing as soon as I no longer see dry flour. A few little lumps are just fine. Cornbread can become tougher when the batter is stirred too much, so there is no need to work it until it is perfectly smooth.
Step 4: Pour the Batter Into the Pan
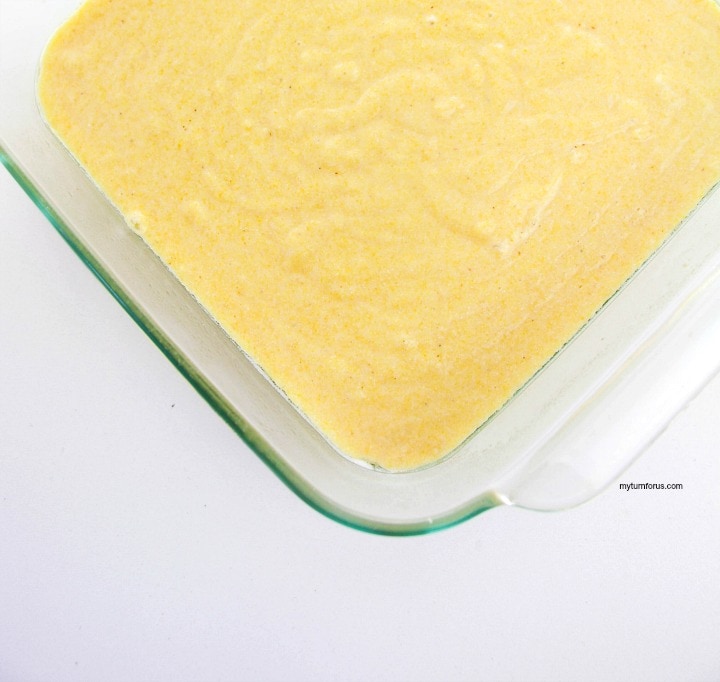
Pour the batter into your prepared 9×13-inch baking pan and spread it evenly.
If you like those extra-crisp edges, you can heat the greased pan in the oven while the oven preheats. Just use a little extra care when pouring the batter into the hot pan.
Step 5: Bake Until Golden
Bake at 400°F for 20 to 25 minutes, until the top is golden brown and the edges begin to pull slightly away from the pan.
A toothpick inserted into the center should come out clean or with just a few moist crumbs.
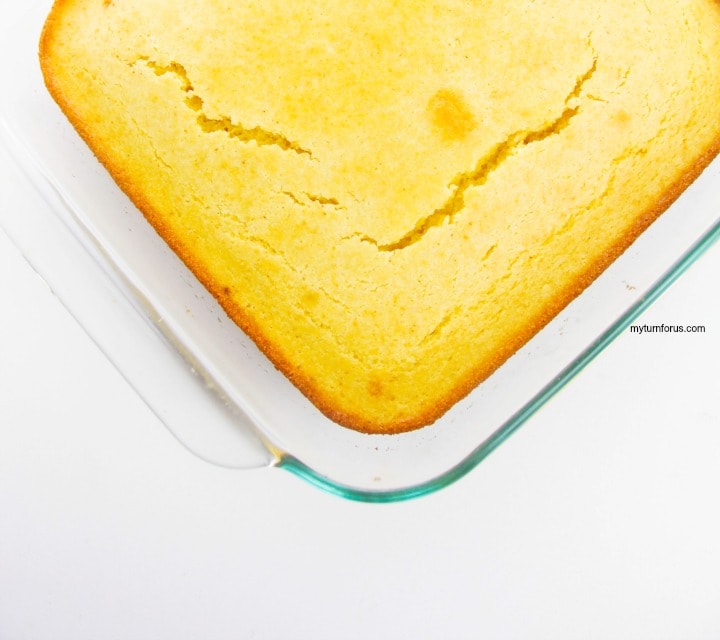
Let the cornbread cool for a few minutes before cutting it into squares. I usually serve it while it is still warm with plenty of butter.
Expert Tips
This recipe is simple, but there are a few things I pay attention to.
- Don’t overmix it. Stir only until the wet and dry ingredients come together.
- Use buttermilk if you have it. I like the softer texture and little bit of tang it gives the bread.
- For crispier edges, heat the pan first. A hot greased pan starts browning the bottom and edges as soon as the batter goes in.
- Watch the last few minutes of baking. I pull mine out when the center is set and the top is nicely golden rather than letting it bake until it looks dry.
If you don’t have buttermilk, stir 2 tablespoons of lemon juice or white vinegar into 2 cups of milk and let it stand for about 5 to 10 minutes before using.
A Few Easy Variations
I usually make this cornbread just as Mom did, but there are a few simple changes that work well.
You can add a handful of shredded cheddar cheese for a little extra flavor or stir in some chopped green chiles if you are serving it with chili or beans.
And if you prefer your cornbread less sweet, you can reduce the sugar. I wouldn’t remove it completely from this particular recipe because it is part of the texture and flavor I remember.
There you have it—this simple, old-fashioned cornbread recipe has been a staple in kitchens for generations, and once you try it in that big 9×13 pan with those irresistible crispy edges, you’ll understand why! Whether you’re serving it with a steaming bowl of pinto beans, chili, or just warm with butter and honey, it’s guaranteed to bring smiles and empty plates.
How to Store Cornbread
Once the cornbread is completely cool, cover the pan tightly or place the squares in an airtight container.
It will keep at room temperature for about 2 days. For longer storage, I refrigerate it and warm individual pieces before serving.
Cornbread also freezes well. Wrap the cooled squares and place them in a freezer-safe container or bag for up to about 3 months. Thaw them at room temperature or warm them gently in the oven or microwave.
What To Do With the Leftovers
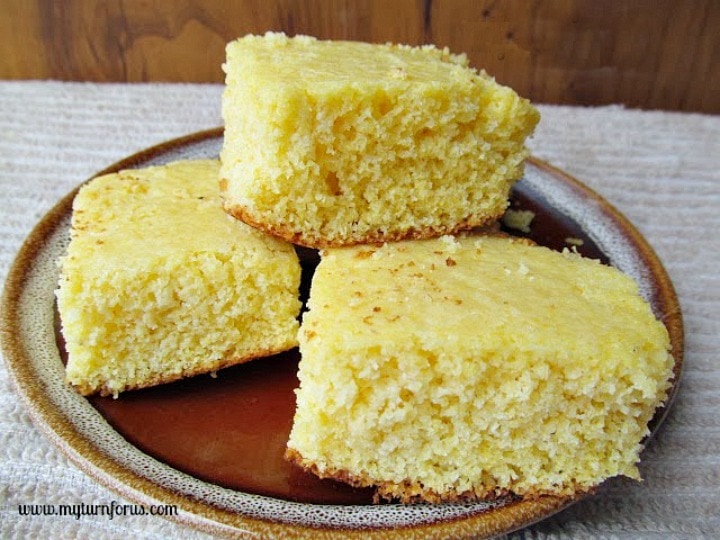
Dad always hoped there would be cornbread left the next day. He would crumble a piece into a cold glass of milk and eat it almost like dessert.
That sounded perfectly normal to us growing up, and honestly, I still smile when I think about it.
I also use this cornbread when making our Cornbread Dressing or Stuffing for Thanksgiving. Making a large pan comes in handy when you need enough for supper and enough left for dressing.
This recipe is great served with:
And of course, sometimes all it needs is a little butter and honey while it is still warm.
Isn’t it funny how some of the foods we ate all the time as children taste even better to us now? If you make this traditional cornbread, leave me a comment or rating below. I would love to hear what you served with it.
Frequently Asked Questions
Yes. Mix 2 tablespoons of white vinegar or lemon juice with 2 cups of regular milk and let it sit for 5 to 10 minutes before adding it to the batter.
The two biggest causes are overbaking and overmixing. Stir the batter only until combined and begin checking it around the 20-minute mark.
You can, but this recipe makes quite a bit of batter and was written for a 9×13 pan. You would need a very large skillet or divide the batter between pans.
The top should be golden, the center should feel set, and a toothpick inserted near the middle should come out clean or with a few moist crumbs.
🥣 Recipe

Equipment
Ingredients
- 2 ½ cups yellow cornmeal
- 2 cups all-purpose flour
- ½ cup sugar
- 2 tablespoons baking powder
- 1 teaspoon salt
- 2 cups buttermilk
- 2 large eggs
- ½ cup butter melted
Instructions
- Preheat your oven to 400°F and generously grease a 9×13-inch baking pan.
- In a large mixing bowl, combine the yellow cornmeal and flour.
- Add the sugar, baking powder, and salt. Whisk everything together so the baking powder and salt are evenly distributed throughout the cornmeal mixture.
- Make a well in the center of the dry ingredients. Pour in the buttermilk, beaten eggs, and melted butter.
- Gently stir from the center outward until everything is combined.I stop mixing as soon as I no longer see dry flour. A few little lumps are just fine. Cornbread can become tougher when the batter is stirred too much, so there is no need to work it until it is perfectly smooth.
- Pour the batter into your prepared 9×13-inch baking pan and spread it evenly. If you like those extra-crisp edges, you can heat the greased pan in the oven while the oven preheats. Just use a little extra care when pouring the batter into the hot pan.
- Bake at 400°F for 20 to 25 minutes, until the top is golden brown and the edges begin to pull slightly away from the pan.A toothpick inserted into the center should come out clean or with just a few moist crumbs.
- Let the cornbread cool for a few minutes before cutting it into squares. I usually serve it while it is still warm with plenty of butter.
Notes
- For crispier edges, place the greased pan in the oven while it preheats, then carefully pour the batter into the hot pan.
- If you don’t have buttermilk, mix 2 tablespoons lemon juice or white vinegar with 2 cups milk and let it sit for 5–10 minutes before using.
- Store cooled cornbread covered at room temperature for up to 2 days, refrigerate for longer storage, or freeze well-wrapped pieces for up to 3 months.
Nutrition
Click HERE to save this Cornbread Recipe to Pinterest

You really have no idea what my obsessed with cornbread is like. LOL DROOL! 🙂
Thanks for sharing
Hi Evelyn, OMG this looks so good! I pinned this and will try it out for the holidays. Julie at julieslifestyle.blogspot.com
OMG, that looks so delicious! I did not grow up with cornbread, but I wish that I did. I can't wait to give this a try Evelyn. 🙂
Corn cake looks yummy!! By seeing itself i feel to eat…
YUM!
Yummy! I'm going to try this recipe Evelyn. Thank you for sharing.
Oh! I forgot to tell you that I'm following you via Bloglovin'. Please follow me back. Have a great day!
I need this recipe. I love cornbread – but grew up on Jiffy…gasp! Pinning for sure!
No more boxed corn bread for me! Looking forward to trying this recipe, thanks for sharing.
Thank you for this. We love us some cornbread with our chile in the cold months and it's been a long time since I've had a good recipe for it.
I love cornbread with just about anything, certainly honey butter, apple butter or regular butter. My favorite dressing/stuffing is definitely cornbread!
This looks so amazing!! Just in time for Thanksgiving. I love cornbread!!
Yummy!!! Thank you for sharing with Random Recipe Roundup! I *LOVE* cornbread!!!
This sounds so delish!! I've never been good at making cornbread, for some reason it just never rises appropriately. I would use the Quaker cornmeal & recipe on the back of the container, but I was recently told to try self-rising cornmeal. Does your recipe call for regular yellow cornmeal or self-rising? Also, I wonder if adding some honey butter to your recipe mixture will affect the outcome of the cornbread? What do you think? Can someone please help me?
This is a regular cornmeal recipe but adding the baking powder makes it rise. Not sure about the honey butter but if you try it please let us know how it works for you.
Do you have to put sugar in it, I don’t like sweet cornbread
We do not like sweet cornbread either and this amount of sugar will not make it sweet. Sugar attracts and retains water, thus serving as a moisturizing agent. Harmful bacteria avoid sugar so it’s anti- bacterial and prolongs shelf life. It’s also a colorant as at 320° it begins to brown. But if you would like, you can lessen the amount of sugar or you could try it without sugar.
In making this recipe the batter seemed really thick so I added an extra 1/3 C of milk. Also, I wanted to use buttermilk rather than plain milk but had to improvise because I didn’t have any buttermilk. Instead I used 1 C sour cream and 1 C milk. Also, my oven doesn’t go any higher than about 375, so I had to cook it a bit longer. That’s a lot of improvising. However, it turned out pretty good. Next time I will add an extra 1/2 C of milk instead of 1/3 C. I like a sweeter cornbread so I will increase the sugar to 3/4 C and decrease the cornmeal by 1/2 C. The nice thing about your recipe is that it’s very basic and allows for improvising. Also, I recently moved to Brazil and am learning how their ovens work (or don’t!), what ingredients they don’t carry, etc. It’s an adventure.
Great recipe! Definitely a keeper. Love that it’s made in a 9×13