
Green Chile Cheese Bread Recipe
During my years living in New Mexico, green chile season was something I looked forward to every year. You could smell those chiles roasting in the air, and somewhere along the way I completely fell in love with them.
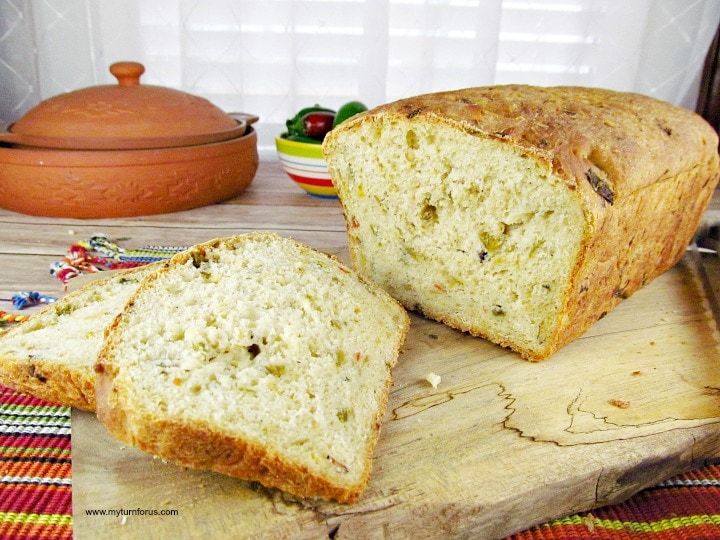
This Green Chile Cheese Bread brings together two things I’m very fond of: roasted Hatch green chiles and cheddar cheese baked right into a soft homemade yeast bread. It makes two generous loaves, which is a good thing because one never seems to last very long around here.
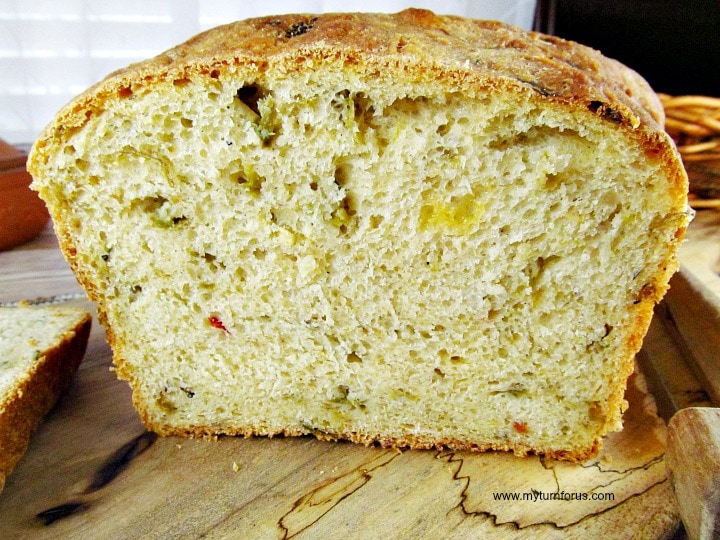
Why I Love This Green Chile Cheese Bread
There is plenty of good Hatch chile flavor in every slice without making the bread complicated to prepare.
This post contains affiliate links, which means if you make a purchase, we might receive a small commission at no additional cost to you. Please read our Disclosure Policy.
- Roasted green chiles give the bread that smoky New Mexico flavor I love.
- Cheddar cheese is mixed right into the dough.
- The recipe makes two loaves, so you can enjoy one now and save the other.
- You can use freshly roasted Hatch chiles or well-drained jarred green chiles.
- It is especially good served warm alongside soup, stew, beans, or a hearty dinner.
And if green chile season has you bringing home more chiles than you know what to do with, I understand completely. My New Mexico Green Chile Stew is another good place to put them to use.
Key Ingredients
You’ll find all the measurements in the recipe card below, but these are the ingredients I pay the most attention to when making this bread.
Hatch Green Chile: I prefer roasted Hatch green chiles when I can get them. You’ll need them peeled and chopped before adding them to the dough. If I’m using jarred or canned green chile instead, I drain it very well first. Too much extra liquid can make the dough sticky and leave you adding more flour than you really need.
Cheddar cheese: I use shredded cheddar throughout the dough. A sharper cheddar will give you a little more noticeable cheese flavor, which is a nice choice if you like your cheese to stand up to the green chile.
Active dry yeast: This recipe uses active dry yeast dissolved in warm water before the other ingredients are added. Make sure the water is warm but not hot.
Milk: I use lukewarm milk so we aren’t chilling the yeast mixture when everything is combined.
All-purpose flour: The recipe calls for 7 cups or more, but I don’t add it all at once. Flour can behave a little differently depending on the weather and humidity, so I add what I need until I have a soft workable dough.
How to Make Green Chile Cheese Bread
The complete measurements and instructions are in the recipe card below, but here is how I make my green chile bread step by step.
Step 1: Start the Yeast Mixture
Dissolve the active dry yeast in ¼ cup warm water.
Add the lukewarm milk, room-temperature butter, salt, and sugar. Stir everything together until it is well combined.
I don’t use very hot water or milk here. I want them comfortably warm so the yeast can get to work.
Step 2: Add the Green Chiles and Cheese
Stir the chopped roasted green chiles and shredded cheddar cheese into the yeast mixture.
If you are using jarred or canned green chiles, this is where draining them well really matters. Extra chile liquid changes the consistency of the dough and can make you think you need much more flour.
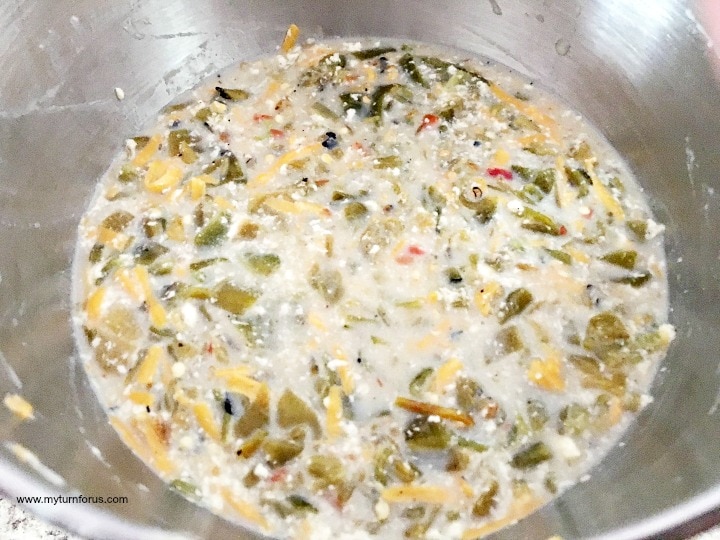
And if you have fresh Hatch green chiles available during chile season, by all means use them. That roasted flavor brings back New Mexico for me every time.
Step 3: Mix and Knead the Dough
Add 3 cups of the flour and mix well. I use the dough hook attachment on my stand mixer, but you can certainly mix and knead this bread by hand.
Continue adding flour gradually until you have a soft dough.
I wouldn’t rush to add every last cup of flour. Stop when the dough is soft and manageable rather than trying to force in a certain amount just because it is listed in the recipe.
Step 4: Let the Dough Rise
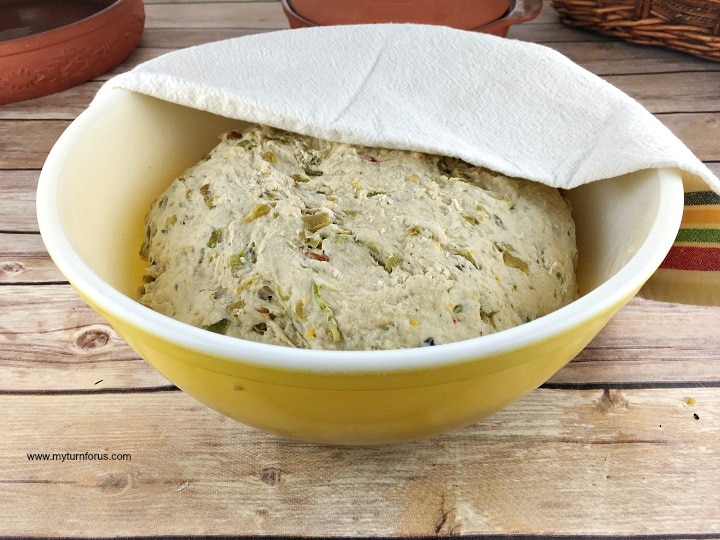
Place the dough in a large greased bowl and cover it.
Set it in a warm place and let it rise for about 1 ½ hours.
Bread dough has its own schedule sometimes, especially when the kitchen is cool. I pay more attention to how the dough looks than I do to the clock.
Step 5: Shape the Two Loaves
Grease two loaf pans well.
Divide the risen dough in half and place one half into each prepared pan.
Cover the pans and let the dough rise again in a warm spot for about 45 minutes.
This second rise gives the loaves a chance to become light before they go into the oven, so I don’t like to rush this part.
Bake the Green Chile Bread
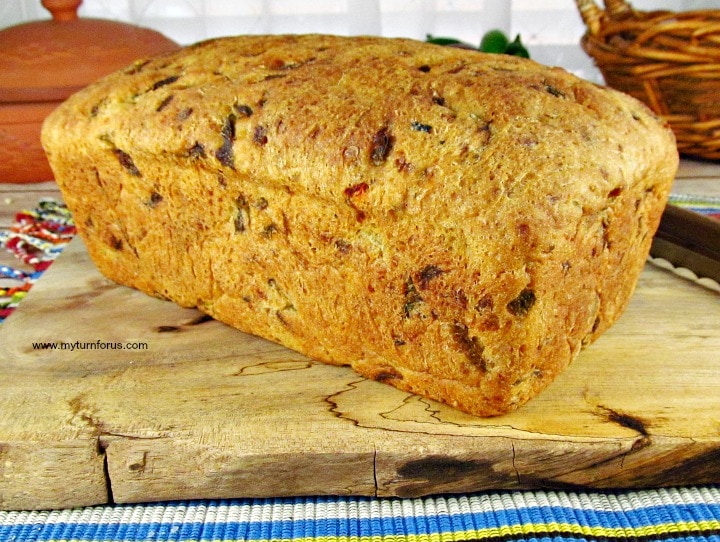
Bake the loaves at 375°F for about 45 minutes in a bread loaf pan.
Remove the pans from the oven, then carefully turn the loaves out onto wire racks to cool.
As tempting as warm cheese bread can be, give the loaves a little time to cool before slicing. The inside will finish setting as the bread cools and your slices will hold together much better.
We love using our Fiddle Bread slicer to make perfectly even slices of this amazing chili cheese bread.
Expert Tips
This is a pretty straightforward yeast bread, but a few small things can make a difference.
- Let the bread cool before slicing. It will cut much more cleanly once the crumb has had time to set.
- Drain jarred green chiles thoroughly. This may be the most important tip if you aren’t using freshly roasted chiles. Too much liquid can throw off the flour-to-liquid balance.
- Grease those loaf pans well. There is cheese throughout this dough, so I’m generous when preparing my pans.
- Add the flour gradually. You want a soft dough, not a dry or stiff one.
- Give the dough time to rise. A cooler kitchen may need a little longer than the times listed.
A Few Ways to Change It Up
I usually make this bread with Hatch green chiles and cheddar because that is the combination I love, but there is still a little room to make it your own.
Use sharp cheddar: If you want the cheese flavor to come through more strongly, sharp cheddar is a good choice.
Choose your chile heat: Hatch chiles range from mild to hot, so use the heat level your family enjoys.
Mix your cheeses: You can replace part of the cheddar with Monterey Jack or pepper Jack while keeping the same total amount of cheese.
Storing Green Chile Cheese Bread
Once the bread is completely cool, keep it tightly wrapped or in an airtight container at room temperature for a couple of days.
For longer storage, I like freezing one of the loaves since this recipe makes two. Let it cool completely, wrap it well, and freeze it. You can also slice the loaf before freezing so you can take out just a slice or two at a time.
The slices are very good warmed or toasted, especially once that cheddar starts getting soft again.
Green Chile Cheese Bread FAQs
Yes. I prefer roasted Hatch green chiles when I can find them, but jarred or canned roasted green chiles can be used. Drain them very well before measuring and adding them to the dough.
No. This is a yeast bread made with flour, milk, yeast, green chiles, and cheddar cheese. If you were looking for cornbread instead, try my New Mexico Green Chile Cornbread.
That depends mostly on the green chiles you use. Hatch green chiles are available in different heat levels, so you can keep the bread mild or give it more heat.
A little softness is normal, but very wet dough can happen if your green chiles contain a lot of liquid. Drain them thoroughly and then add the remaining flour gradually until the dough is soft and workable.
More Ways to Use Hatch Green Chiles
If you love Hatch green chiles as much as I do, there are plenty of ways to keep enjoying them. Try my Chicken and Green Chile Casserole for an easy dinner, or make these Hatch Green Chile Strips with Honey Teriyaki Sauce for something a little different. And when cooler weather rolls around, that pot of Green Chile Stew is awfully hard to resist.
Those years in New Mexico certainly left me with a lifelong love of green chile, and I’m not complaining one bit.
If you make this Green Chile Cheese Bread, I’d love to hear how it turned out. Leave me a comment and recipe rating below, or tag me on Facebook so I can see your loaves.
Printable Recipe

Equipment
Ingredients
- 2 packages active dry yeast
- 1/4 cup warm water
- 2 cups lukewarm milk
- 1/2 cup butter room temperature
- 2 tablespoons sugar
- 2 teaspoons salt
- 2 cups chopped roasted Hatch green chiles well drained
- 2 cups shredded cheddar cheese
- 7 cups all-purpose flour plus more as needed
Instructions
- Dissolve the yeast in the warm water.
- Add the milk, butter, sugar, and salt. Stir to combine.
- Mix in the green chiles and cheddar cheese.
- Add 3 cups of flour and mix well. Continue adding flour gradually until a soft dough forms.
- Knead until the dough is smooth and elastic.
- Place the dough in a greased bowl, cover, and let rise in a warm place for about 1 1/2 hours.
- Divide the dough in half and place each half into a greased loaf pan.
- Cover and let rise again for about 45 minutes.
- Bake at 375°F for about 45 minutes.
- Remove the loaves from the pans and cool on wire racks before slicing.
Notes
- Drain jarred or canned green chiles very well before adding them to the dough.
- Add the flour gradually. You may need a little more or less depending on the moisture in the chiles.
- Let the bread cool before slicing so the crumb can finish setting.
One loaf can be frozen once completely cooled.
Nutrition
Click HERE to save this green Chili Cheese bread recipe to Pinterest

I just had to look through all your green chile recipes- they look wonderful!
I also had to look at the green chile recipes. And now I'm hungry. Love chile cheese bread and that stew is calling my name!
I love homemade bread and this looks delicious!!!
This sounds like a fun twist! I have some green chiles and will have to try it out!
This looks delicious! I love green chilies and it looks even better with the bread. Would love to try this one out one of these weekends.
wow, that looks so good! it would be so good with spicy soup!!
Oh this looks so yummy! I just want to eat it up.
What a great recipe, Evelyn! It would be so good dunked in some creamy soup!
My gosh! I don't think I need anything else – just give me the bread! I have everything to make this … I might need to give it a go over the weekend! 🙂
This looks great, I love green chilies! I bet this would be delicious fresh from the oven
Yummy! This looks delicious without a lot of trouble! Thanks for sharing!
This green chili cheese bread sounds absolutely wonderful! There's something about making bread that I just love so I am so excited to try out this recipe!
Oh My Goodness! So much delicious chili! I really want to try them all!
I love using green chiles in recipes, but never thought of breads! Will have to try this out!
This bread looks delicious! I love the addition of the green chile and cheese…thanks for sharing!
Yum! This bread looks delicious Evelyn! Thanks so much for sharing it at the Project Parade!
Hi Evelyn,
We are going to love your Green Chile Cheese Bread, we are big Green Chile fans! Hope you are having a great day and thanks so much for sharing this awesome post with Full Plate Thursday.
Come Back Soon!
Miz Helen
As soon as I read the recipe title I knew this was yours! A local corner grocery makes jalapeno cheese bread, but I like green chilies more. I made your green chile strips for burgers recently…will have to post about that. Very good!
Thanks for linking, Evelyn!
I just made this bread and it is delicious!! Make sure you grease the pan very well!
If you don’t have fresh roasted chile and used canned chile, make sure to drain the liquid off. Otherwise, you’ll need quite a bit of extra flour which causes there to be quite a bit more dough than will reasonably fit into two loaf pans! Still quite tasty though. Wish the cheese flavor came through a bit more. Perhaps next batch I’ll add a bit more cheese or sharp cheddar for a bit more cheese flavor.
Thank you so much for your comments about our recipe and your tips. It’s always nice to have feedback. Hugs
Sounds delicious. Has anyone tried this at 7,000’ elevation? Adjustments?
I’m not sure is my honest answer. I have never lived nor cooked at that elevation. I have baked this with these directions at 3,900 elevation and my present elevation of 1,719. I’m so sorry I was unable to help you. But please let us know if you do make the adjustments.
I don’t know why my brain tricked me into thinking this was hatch green chili cheese cornbread but I made a big ole pot of red beans n rice, had it all planned to eat the delicious sounding take on cornbread just to discover it’s bread not cornbread! Oh well it will be delicious anyway.
I understand, my eyes have deceived me in the past also. We do have a Hatch Green Chile Cornbread recipe>>> https://www.myturnforus.com/new-mexico-cornbread/