
DIY Pumpkin Witch Decoration for Halloween
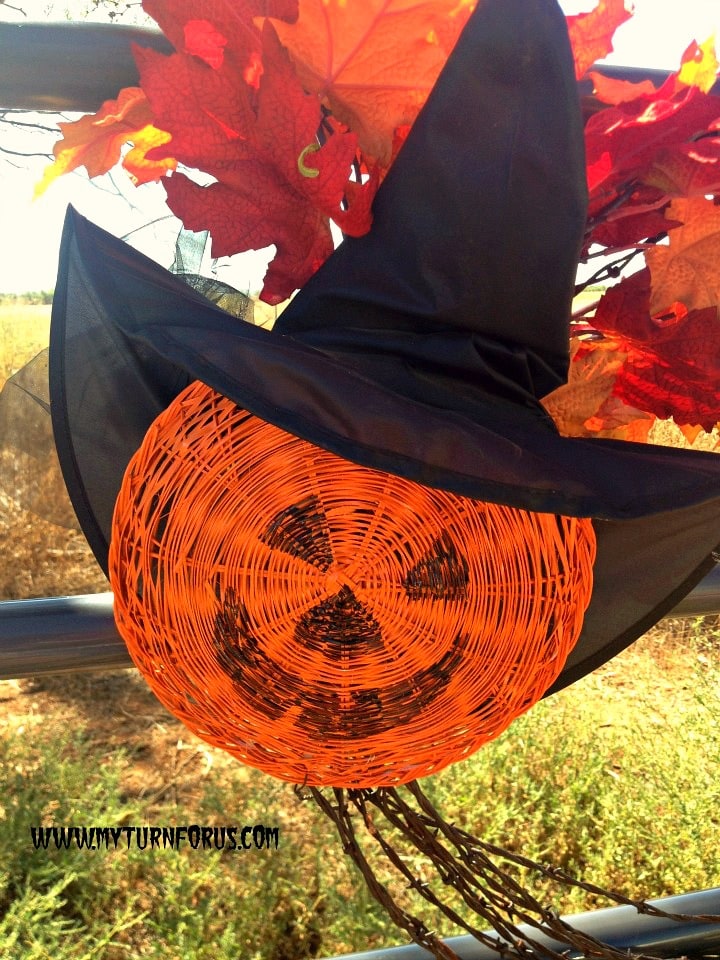
This little pumpkin witch started with a simple straw paper plate holder and a witch hat. With a little orange paint and a funny pumpkin face, it turned into an inexpensive Halloween decoration that I could hang right on our front gate.
I have always loved decorating for the holidays. My kids would probably tell you I can never leave well enough alone because there is always one more decoration or craft I want to make. And we won’t even get started on the infamous yearly Christmas crafts!
Why I Like This Pumpkin Witch
This is the kind of Halloween craft I enjoy because it doesn’t require much money or a long list of supplies.
This post contains affiliate links, which means if you make a purchase, we might receive a small commission at no additional cost to you. Please read our Disclosure Policy.
- Most of the supplies are inexpensive and easy to find.
- You can make the pumpkin face as silly or spooky as you like.
- The witch can be attached to a wreath or displayed by herself.
- It’s lightweight enough to hang on a door, gate, fence, or porch.
- You can reuse decorations and craft supplies you may already have.
A Simple Halloween Decoration From Dollar Store Supplies
A friend shared a cute pumpkin made from a straw paper plate holder on Facebook, and of course I immediately started thinking about what else I could do with it. I decided mine needed to become a witch.
I added a witch hat, some fall leaves, and attached the finished pumpkin witch to one of the barbed wire wreaths that permanently hang on our front gates. You could also use a Dollar Tree Halloween wreath or another inexpensive wreath form. This is one of those projects where a few simple Dollar Tree items can go a long way.
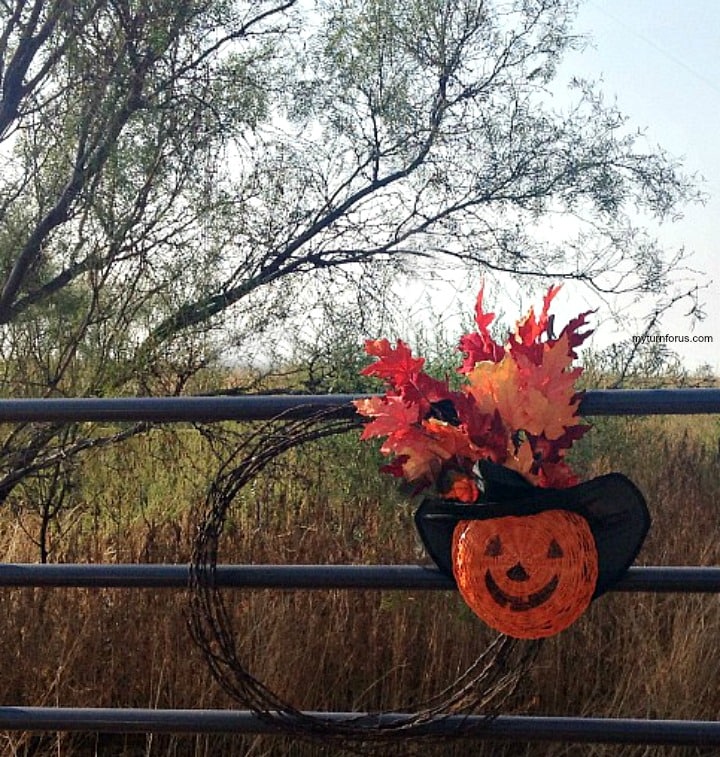
You can even hang the pumpkin witch by herself if you want a simple Halloween decoration for a door, porch, fence, or gate.
Supplies You’ll Need
You only need a handful of supplies for this pumpkin witch. I like to check what I already have before buying anything because Halloween craft bins seem to multiply around here.
Straw Paper Plate Holders: This creates the round pumpkin shape and already has plenty of texture.
Orange Spray Paint: A quick coat turns the straw holder into a pumpkin without having to cover or wrap it.
Witch Hat: An inexpensive Halloween witch hat gives the pumpkin its personality.
A spray of Fall Leaves: I tuck these behind the hat to add a little extra color and help finish the top of the pumpkin.
You’ll also need a thick black permanent marker or black craft paint, needle and thread or a strong glue, and newspaper or another covering for your work surface.
Equipment Needed:
- Fat Sharpie Marker
- Needle and Thread
- Gorilla Glue
How to Make a Pumpkin Witch Decoration
The complete instructions are in the how-to card below, but this is how I put mine together.
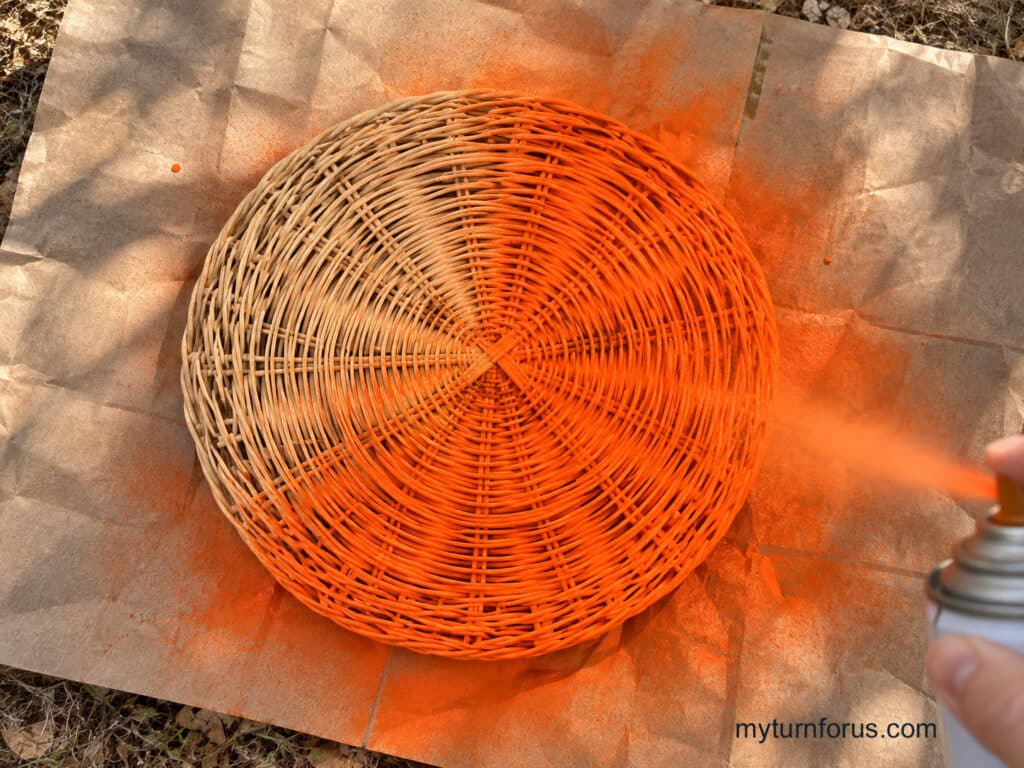
Step 1: Paint the Pumpkin
Place the straw paper plate holder on newspaper or another protected surface.
Spray one side with orange spray paint and allow it to dry before turning it over and painting the other side.
I don’t like to rush the drying time here. If the paint is still tacky when you start drawing the face or attaching decorations, everything becomes harder to work with.
Step 2: Draw the Witch Face
Once the paint is completely dry, draw the eyes, nose, and mouth with a thick black permanent marker.
You could also use black craft paint and a small brush.
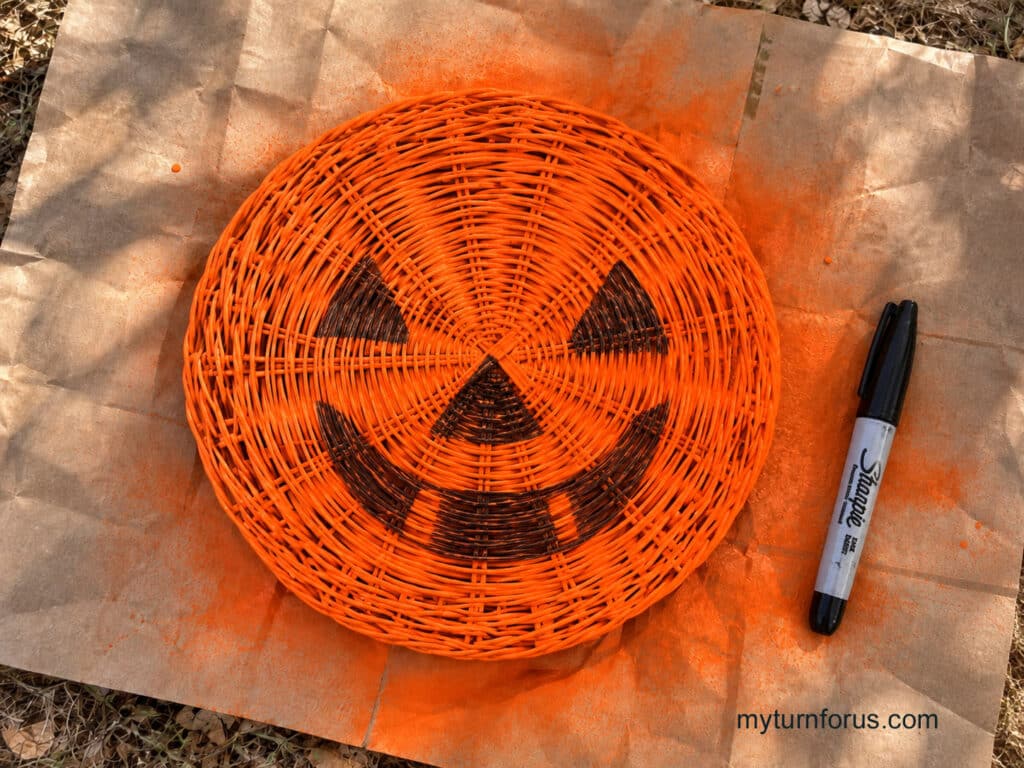
This is where you can have some fun with it. Make her friendly, spooky, crooked, or a little silly. Mine definitely has plenty of personality.
Step 3: Attach the Witch Hat
Place the witch hat at a slight angle across the top of the pumpkin.
I like the hat a little crooked rather than perfectly straight because it gives the witch more character.
Tack the hat into place with a needle and thread in several spots. You can also use a strong adhesive such as Gorilla Glue if you prefer not to sew it.
Step 4: Add the Fall Leaves
Tuck a spray of colorful fall leaves or flowers behind the witch hat.
Secure them so they stay in place when the decoration is hanging upright.
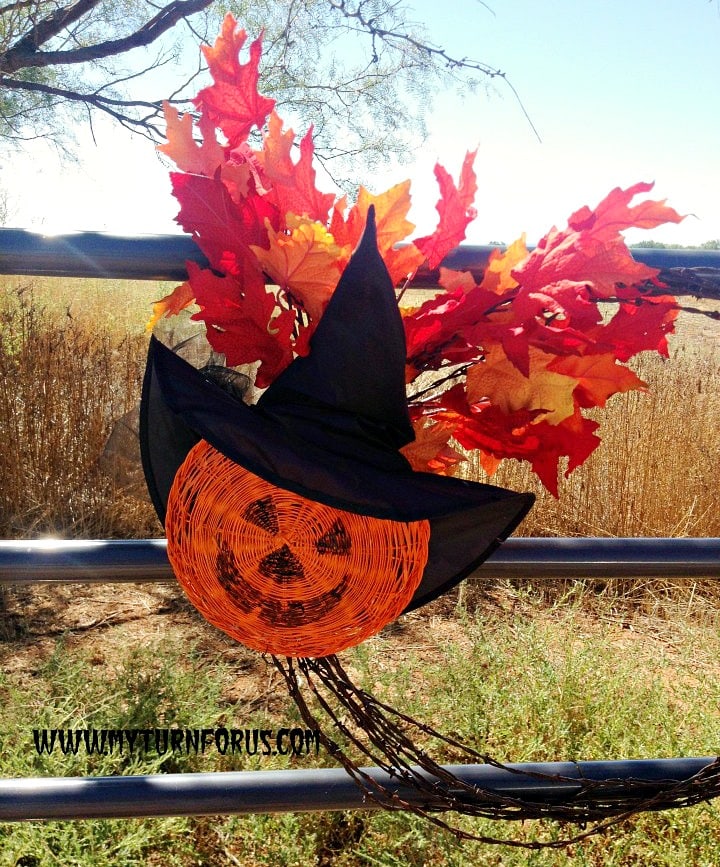
You don’t need much here. A small spray adds enough color without covering the pumpkin face.
Step 5: Hang Your Pumpkin Witch
We attached our pumpkin witches to the barbed wire wreaths that hang permanently on our front gates.
You can also attach yours to a grapevine wreath or an inexpensive Halloween wreath form.
And honestly, she is cute enough to hang all by herself. Add a loop of wire or ribbon to the back and hang her from a fence, porch, door, or gate.
Expert Tips
This is an easy project, but a couple of small things make it go much smoother.
- Make sure the orange paint is completely dry before adding the face. Permanent marker doesn’t behave very nicely over tacky spray paint.
- If your decoration will be outside, use a strong adhesive and make sure the hat and leaves are secured in several places. A breezy October afternoon can be surprisingly hard on Halloween decorations.
- And don’t worry about making the pumpkin face perfectly symmetrical. I actually think the crooked smiles and uneven eyes give these witches more charm.
Easy Ways to Change It Up
You can easily make each pumpkin witch look a little different.
Try a purple, green, or black witch hat instead of the traditional black one. You could also use fall flowers instead of leaves or add a small ribbon around the hat.
If you’re making several, give each pumpkin a different expression. A group of pumpkin witches would be fun along a fence or front porch.
You could also skip the wreath completely and hang the pumpkin face on its own.
Frequently Asked Questions
Yes. You need something lightweight, round, and sturdy enough to hold the witch hat. A shallow woven basket or similar round straw piece could work if you already have one.
You can. Spray paint is simply quicker for getting into all those little spaces in the woven straw. If you use acrylic craft paint, a larger stiff brush or sponge brush will make the job easier.
Wire, floral wire, or strong thread can be passed through the straw plate holder and secured to the wreath. I prefer attaching it in more than one spot so it doesn’t shift or twist.
I would place it somewhere somewhat protected from heavy rain. The straw holder, hat, and decorative leaves aren’t really made for prolonged wet weather.
More Halloween Crafts and Treats
If you’re getting ready for Halloween, you might also enjoy making our Mummy Lighting Ideas for another easy decoration. And for the Halloween table, try our Mummy Hot Dogs, Frozen Scary Eyeballs, or an Oogie Boogie Cocktail.
Have a safe and fun Halloween! If you make one of these pumpkin witch decorations, I’d love to hear where you decided to hang yours. Leave me a comment below with a rating star and tag me on Instagram so I can see it.
🥣 Recipe

Tools
- Needle and Thread
Supplies
- Straw Paper Plate Holders
- Orange Spray Paint
- Witch Hat
- A spray of Fall Leaves
- Fall Flowers
Instructions
- Place your straw plates on newspaper or cover and spray both sides of the straw plate holders with orange paint. Then after it is dry use either a black sharpie or black craft paint to draw the pumpkin witch eyes, nose, and mouth.
- Attach the witch hats to the plates with a needle and thread, just tacking here and there to hold it on a cocky angle. Or you could use a strong glue like gorilla glue.
- Add either spray of bright fall leaves or fall flowers to the back of the hat.
- We attached our pumpkin witch to the barb wire wreaths that hang permanently on the front gates. But you could also use a Dollar tree Halloween wreath form or a grapevine wreath. These Pumpkin witches could also be hung by themselves for super cute Halloween Yard Ideas.
Notes
Click HERE to save this Pumpkin Witch Idea to Pinterest: