
DIY Yarn Pom Pom Balls for an Indoor Snowball Fight
These soft DIY yarn pom pom balls are an easy way to bring a snowball fight indoors without cold hands, wet floors, or melting snow. All you need is white yarn, a large pom pom maker, and a good pair of sharp scissors.
I first made a pile of these yarn pom poms several years ago while spending the holidays with my daughter and her family in Southern California. My granddaughter used them as pretend snowballs and ran through the house having snowball fights with anyone willing to play. There were plenty of willing participants.
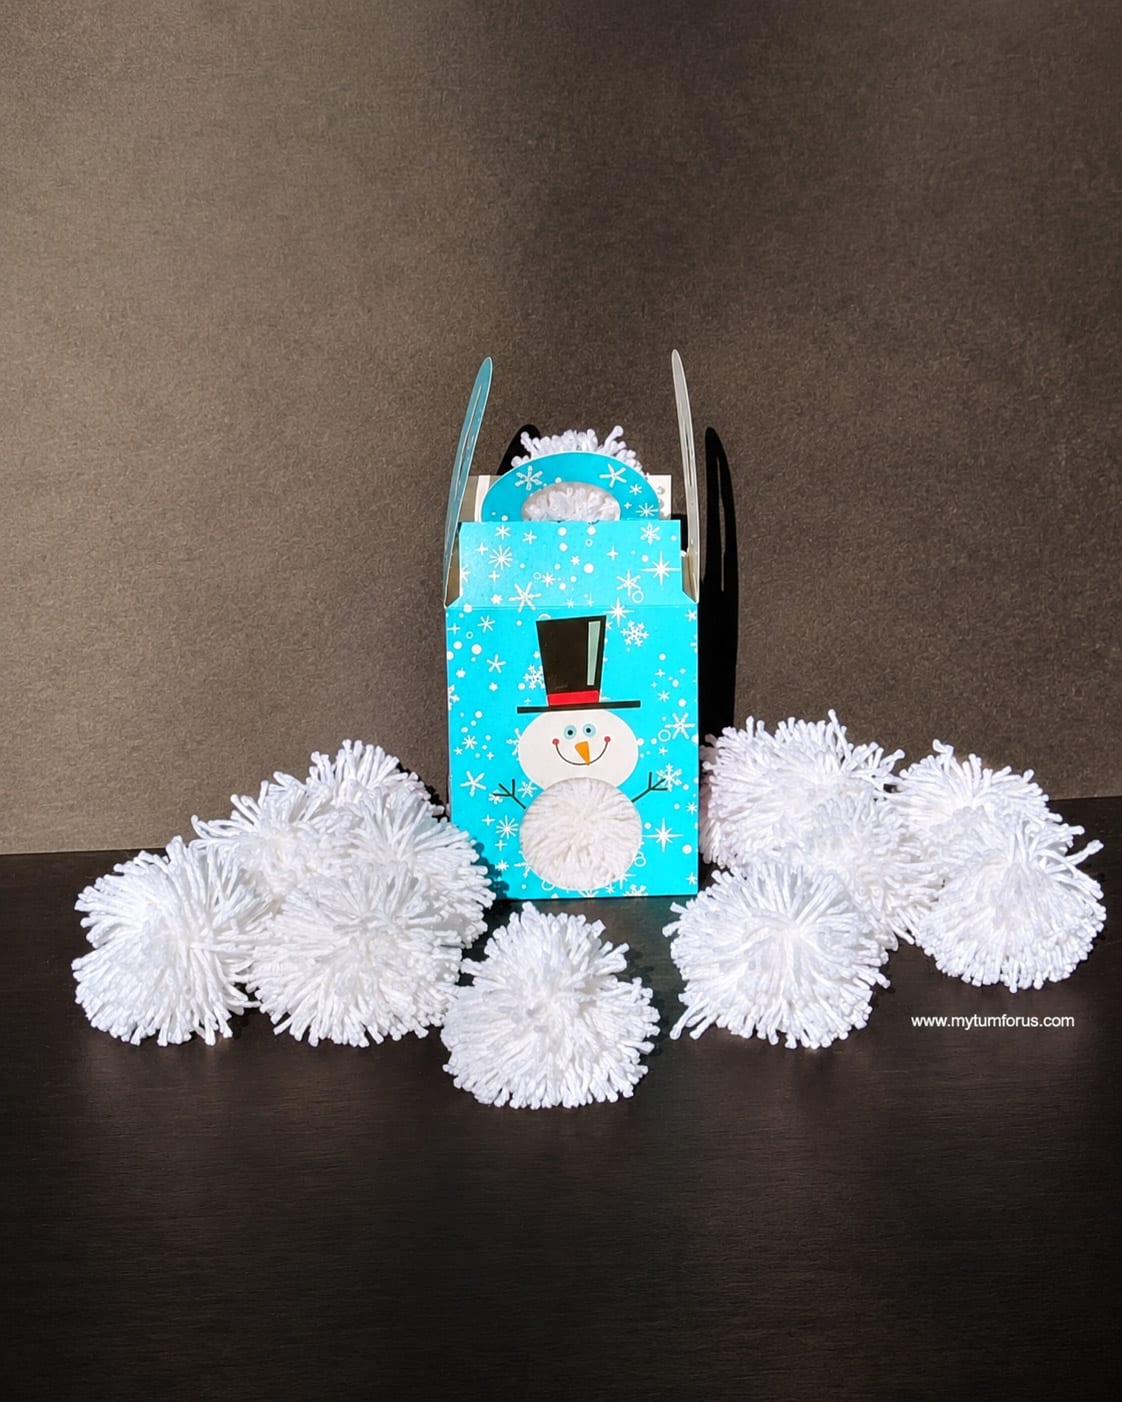
An Indoor Snowball Fight Without the Snow
As you can probably guess, there was no snow in her yard. These white yarn pom pom balls were the next best thing—and perhaps an even better thing because no one had frozen fingers and the snowballs never melted.
This post contains affiliate links, which means if you make a purchase, we might receive a small commission at no additional cost to you. Please read our Disclosure Policy.
That first batch was eventually damaged beyond repair. I believe their puppy may have had something to do with that.
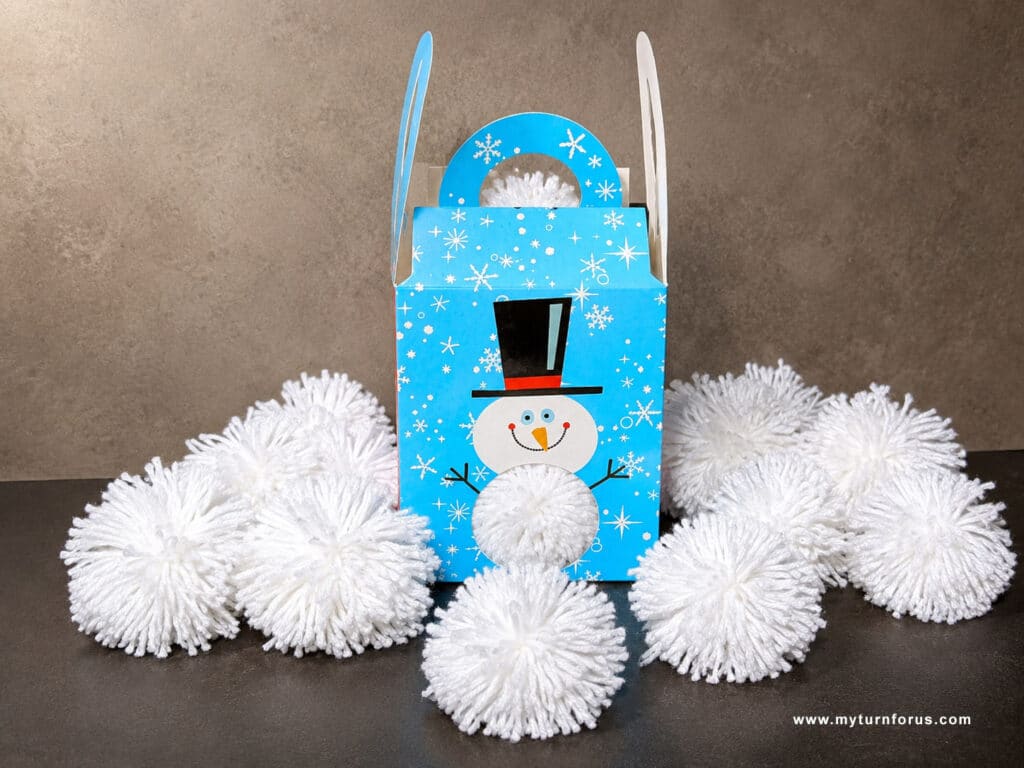
Now my granddaughter has a two-year-old little sister, so I decided they needed a fresh pile of pom pom balls for another indoor snowball fight. They are soft enough for gentle indoor play, and they can be gathered into a box or basket when the game is over.
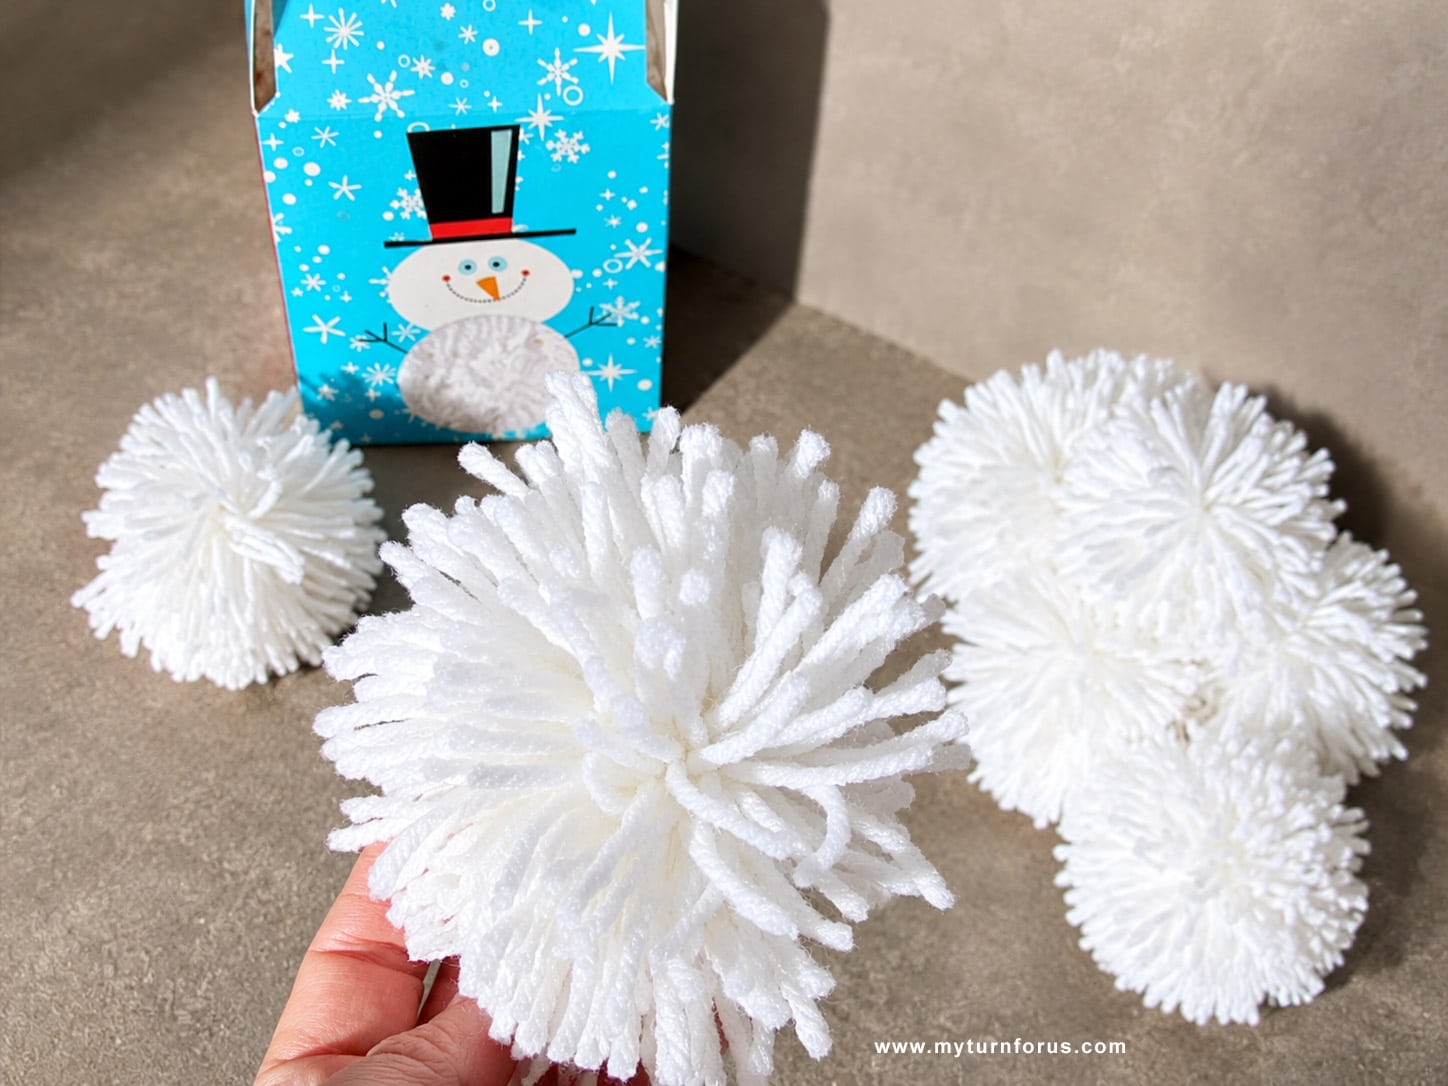
Why You’ll Enjoy Making These Yarn Pom Pom Balls
This is one of those simple projects that does not require many supplies, but the finished pom poms can provide plenty of family fun.
- They are soft and lightweight for indoor play.
- You only need yarn, scissors, and a pom pom maker.
- One large skein makes a generous pile of pom pom balls.
- They do not melt or leave puddles on the floor.
- The finished set makes a sweet homemade Christmas gift.
- You can store them in a basket or decorative box between games.
Supplies:
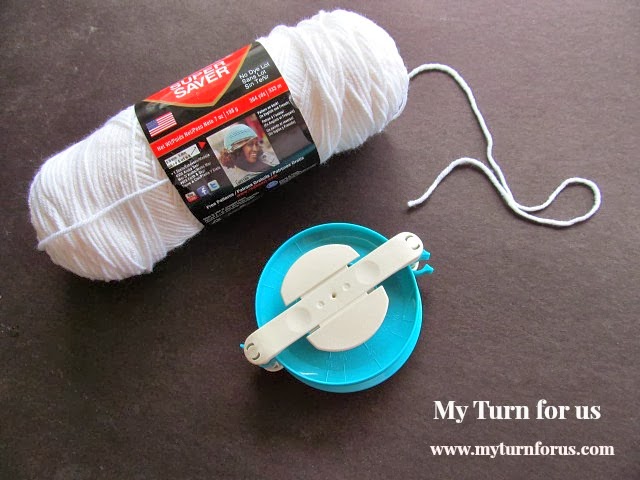
White yarn. I use one large 7 oz skein of white yarn. That amount makes approximately 17 large pom pom balls, although the final number will depend on how thickly you wrap each one. A soft acrylic yarn works well because it is affordable, easy to trim, and holds its shape. You could also use a fluffy white yarn, but very fuzzy yarn can be a little more difficult to cut cleanly.
Large Pom Pom Maker I use a Clover large pom pom maker to keep all the pom poms close to the same size. It also holds the yarn securely while I cut and tie it.
Sharp Craft Scissors. Sharp scissors matter more than you might think. You will be cutting through several thick layers of yarn, and dull scissors can make this part much harder than it needs to be.
A box, basket, or fabric bag. I like to keep the finished pom pom balls together in a pretty box, basket, or drawstring bag. It makes storing them easier and turns the set into a simple homemade gift.
How to Make DIY Yarn Pom Pom Balls
The complete printable How-To Card is below, but here is how I make each yarn pom pom step by step.
Step 1: Open the pom pom maker
Open both sets of arms on the large pom pom maker completely.
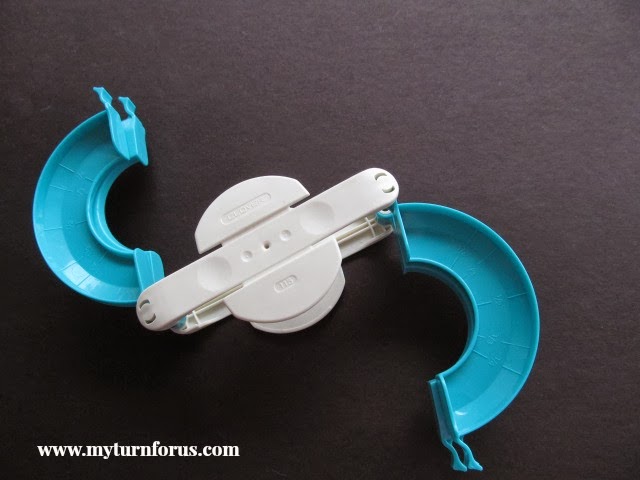
Keep the center of the yarn skein nearby so the yarn feeds smoothly as you wrap. There is no need to cut a separate piece before you begin.
Step 2: Wrap the first side
Wrap the white yarn around one set of curved arms approximately 100 times.
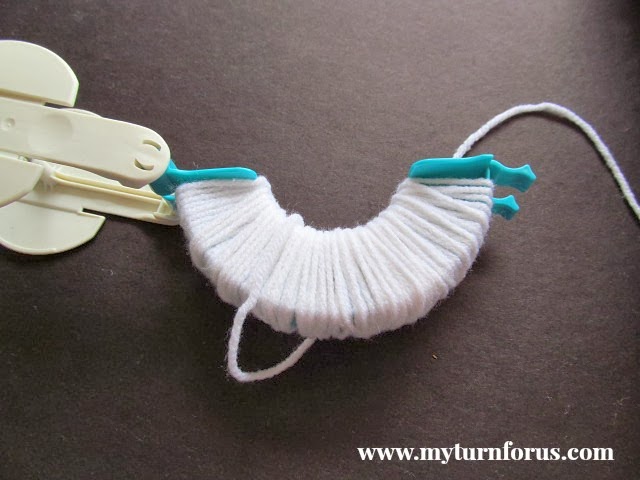
The exact number does not have to be perfect. I prefer a full, fluffy pom pom, so I keep wrapping until the center of the curve looks evenly filled. Add more wraps if you would like an especially dense ball.
Cut the yarn when the first side is covered.
Step 3: Close the first arm
Snap the yarn-covered arms back into the main body of the pom pom maker. Make sure they are completely closed so the yarn does not shift while you work on the other side.
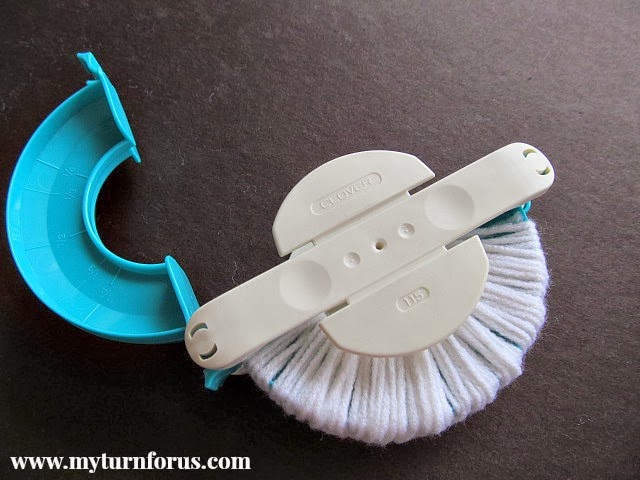
Step 4: Wrap the second side
Open the second set of arms and wrap it with approximately the same amount of yarn.
Try to keep both sides equally full. This helps the finished pom pom look round instead of heavy on one side.
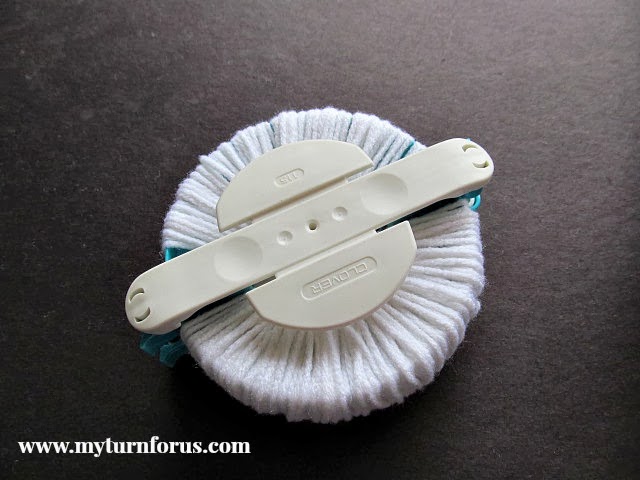
Cut the yarn and snap the second arm securely into place.
Step 5: Cut around the pom pom maker
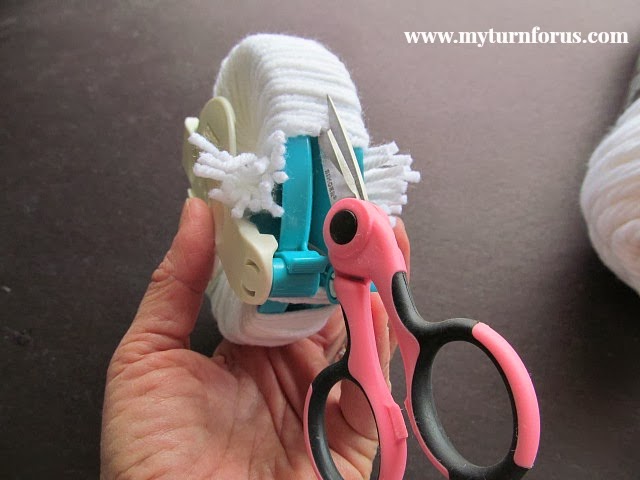
Slide the tip of your sharp scissors into the groove running around the outside edge of the pom pom maker.
Cut through all the wrapped yarn around the entire circumference. Work slowly and keep the pom pom maker closed as you cut.
Step 6: Tie the center tightly
Cut an 8-to-10-inch piece of yarn and slide it into the center groove of the pom pom maker.
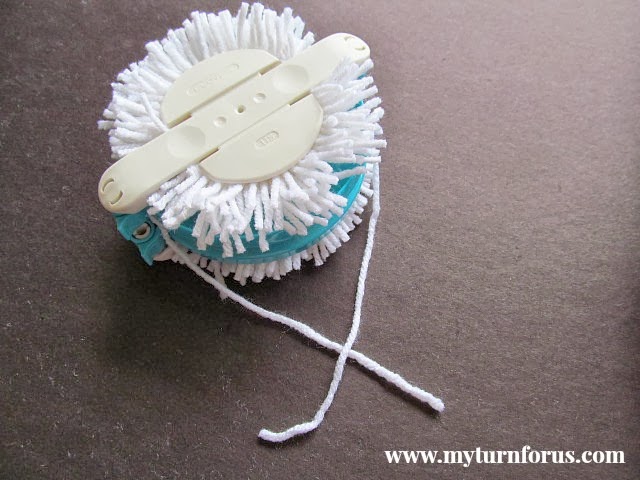
Pull it very tight around the center of the cut yarn. Tie several firm knots so the strands cannot come loose during play.
This is one of those little steps that matter. If the center tie is loose, the pom pom may begin shedding or pulling apart.
Pro Tip
Tie the center yarn as tightly as you can before removing the pom pom from the maker. That center tie is what holds the entire ball together.
Step 7: Remove the pom pom
Open both arms of the pom pom maker. Separate the two halves and carefully remove the finished pom pom.
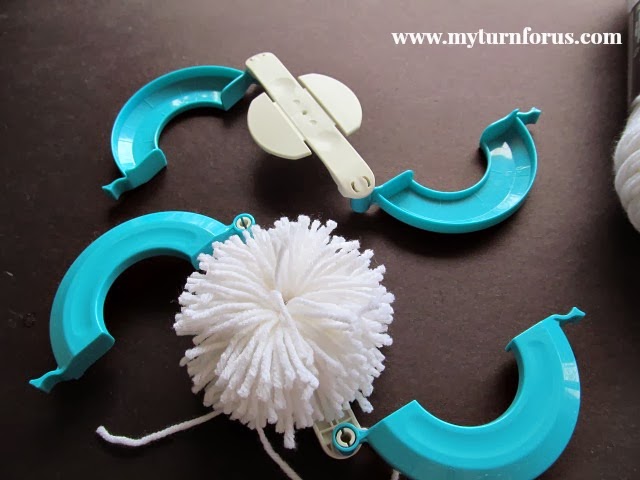
It may look uneven when it first comes out, and that is completely normal.
Step 8: Shape and trim the pom pom ball
Roll the pom pom gently between your hands to fluff the yarn.
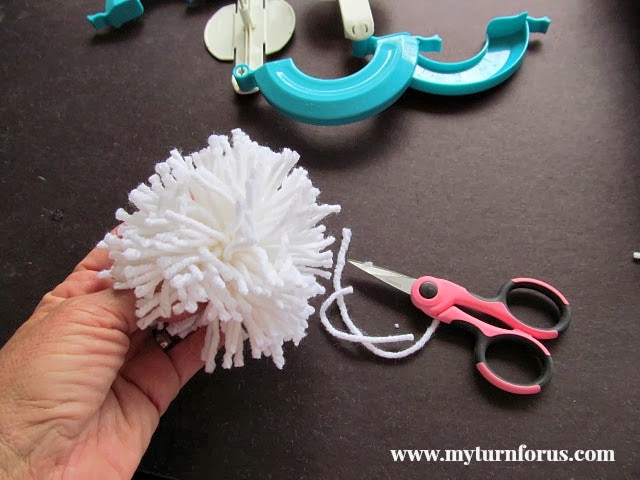
Use your sharp scissors to trim any long or uneven strands until the pom pom has a rounded shape. I trim a little at a time because it is easy to take off more yarn, but impossible to put it back.
Repeat the steps until you have enough white pom pom balls for your indoor snowball fight.
Step 9: Fill a snowball box
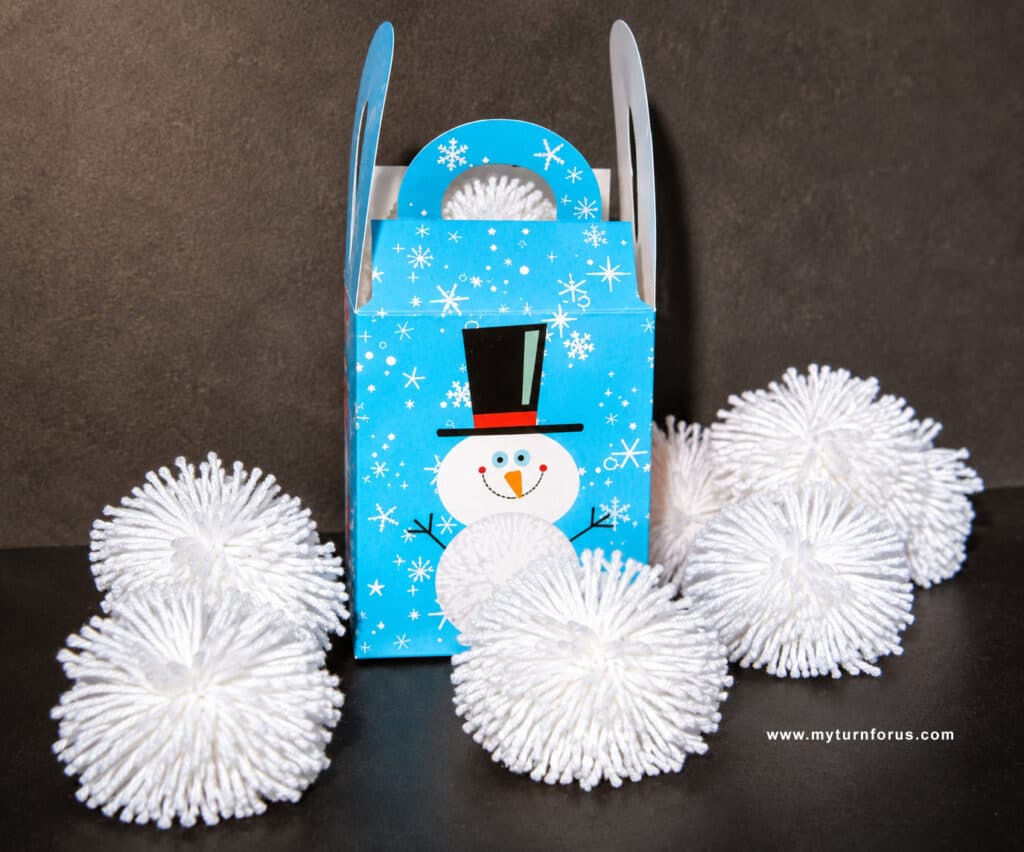
Place approximately 10 or more pom pom balls in a gift box, basket, bucket, or fabric bag.
Then gather the family, divide the pretend snowballs, and let the indoor snowball fight begin.
Expert Tips
A pom pom is simple to make, but these small details will help the balls hold their shape.
- Wrap both sides evenly. One side should not be noticeably thicker than the other.
- Do not underfill the maker. More wraps create a fuller pom pom that holds its round shape better.
- Use very sharp scissors. Small scissors with a pointed tip are easier to guide through the center groove.
- Pull the center tie firmly. This keeps the individual strands from working loose.
- Tie several knots. I would rather add an extra knot now than repair a pom pom later.
- Trim slowly. Turn the pom pom as you cut so you can see its overall shape.
- Keep them away from pets. A playful puppy can make very quick work of a yarn pom pom. I learned that one from experience.
Yarn Pom Pom Ball Variations
I like traditional white pom poms for a pretend snowball fight, but you can make a few simple changes without altering the basic method.
- Mix white and pale blue yarn for an icy winter look.
- Add a strand of silver sparkle yarn while wrapping.
- Use different pom pom maker sizes to create large and small balls.
- Package the pom poms in a decorated bucket for a homemade Christmas gift.
- Make two sets with different colored strands mixed in so each team can identify its pom pom balls.
Ways to Use Yarn Pom Poms for Indoor Games
The grandkids are usually quite capable of inventing their own rules, but these yarn pom pom balls can be used for more than one game.
For a traditional indoor snowball fight, divide the pom poms between the players and choose a safe area away from lamps, drinks, and breakable decorations.
You can also place baskets or boxes at different distances and use the pom pom balls for a snowball toss. Assign more points to the smaller or farther containers.
For younger children, place an empty laundry basket nearby and let them practice tossing the balls into it. This is quieter than a full snowball fight and still keeps little hands busy.
Always supervise very young children, and inspect the pom poms occasionally for loose strands or damage.
Frequently Asked Questions
One large 7-ounce skein of yarn makes approximately 17 large pom pom balls. Your total may vary depending on the yarn thickness, pom pom maker size, and number of wraps.
Once you become comfortable with the pom pom maker, each ball may take approximately 8 to 12 minutes to wrap, tie, remove, and trim. A full set of 17 will usually take a few hours, but you can easily make them a few at a time.
You can make pom poms using cardboard rings, a fork, or your fingers. However, I prefer a pom pom maker for this project because it produces fuller balls with a more consistent size.
A soft medium-weight acrylic yarn is an affordable and dependable choice. Avoid yarn that feels scratchy or sheds excessively since the pom pom balls will be handled and tossed repeatedly.
They are soft, but toddlers should still be supervised. Check the pom poms for loose yarn before each game, and do not leave damaged pom poms with young children or pets.
More Crafts to Make for the Grandkids
If you enjoy making little projects for imaginative play, take a look at our DIY Mini Toy Fish Aquarium. You may also enjoy creating a Horseshoe Fairy Door or using some of our Garden Fairy Ideas to make a cute space outside.
These are the kinds of crafts I enjoy because the making is simple, but the grandkids can use them for all sorts of play afterward.
If you make these DIY yarn pom pom balls, I would love to hear who joined your indoor snowball fight. Leave a comment below, share a photo, tag us on Facebook, and leave us a star rating on the How-To Card. It helps more families find this simple winter craft.
✂️ Printable Tutorial

Supplies
- 1 7 oz skein white yarn
- 1 Carrying Box or pretty container to hold the snowballs
Instructions
- Open both sets of arms on the large pom pom maker.
- Wrap the white yarn around the first set of arms approximately 100 times, or until the curve is evenly and generously covered.
- Cut the yarn and snap the covered arms closed into the body of the pom pom maker.
- Open the second set of arms and wrap it with approximately the same amount of yarn.
- Cut the yarn and securely close the second set of arms.
- Insert the tip of your sharp scissors into the outer groove of the pom pom maker. Cut through the wrapped yarn around the entire circumference.
- Cut an 8-to-10-inch piece of yarn. Slide it through the center groove and pull it very tightly around the cut yarn.
- Tie the center yarn securely with several firm knots.
- Open the arms and separate the two halves of the pom pom maker. Carefully remove the pom pom.
- Fluff the pom pom between your hands. Trim the long and uneven strands until it has a rounded ball shape.
- Repeat the process until you have made approximately 17 pom pom balls or as many as you need.
- Place the finished pom poms in a box, basket, bucket, or fabric bag and use them as pretend snowballs for an indoor snowball fight.
Notes
- One large 7-ounce skein of yarn makes approximately 17 large pom pom balls.
- The exact yield depends on the thickness of the yarn and how many times it is wrapped.
- Tie the center strand as tightly as possible so the pom pom does not pull apart.
- Inspect the pom poms for loose strands before giving them to young children.
- Supervise toddlers during play and keep yarn pom poms away from pets.
- The project time will vary depending on your pom pom maker and how quickly you wrap and trim each ball.
Click HERE to save this Snowball fight game to Pinterest

Evelyn, I just love, love, LOVE this! I am kind of addicted to pom poms and isn't the Clover Pom Pom maker the best? This is such an adorable idea!! Thank you so much for the inspiration – sharing and pinning!
This made such a cute Holiday gift!! And great for the days my kids are locked in the house.
Wow I NEED a pompom maker! I started to make a pompom snowball fight for my daughters, but I just have 2 lonely pompoms in a bag 🙁
I didn't even know that these existed! Thanks so much for sharing!!!!
Oh, you are such a clever Grandma! I especially like the fact that long-distance Grandmas can send snowballs to their little grands and it's perfect for a range of ages!
These are so adorable – I shared them with my daughter too.
We just love these!
I did the lazier version – store-bought pom poms and they are more expensive than you would believe. But now I’m making these and saving money.