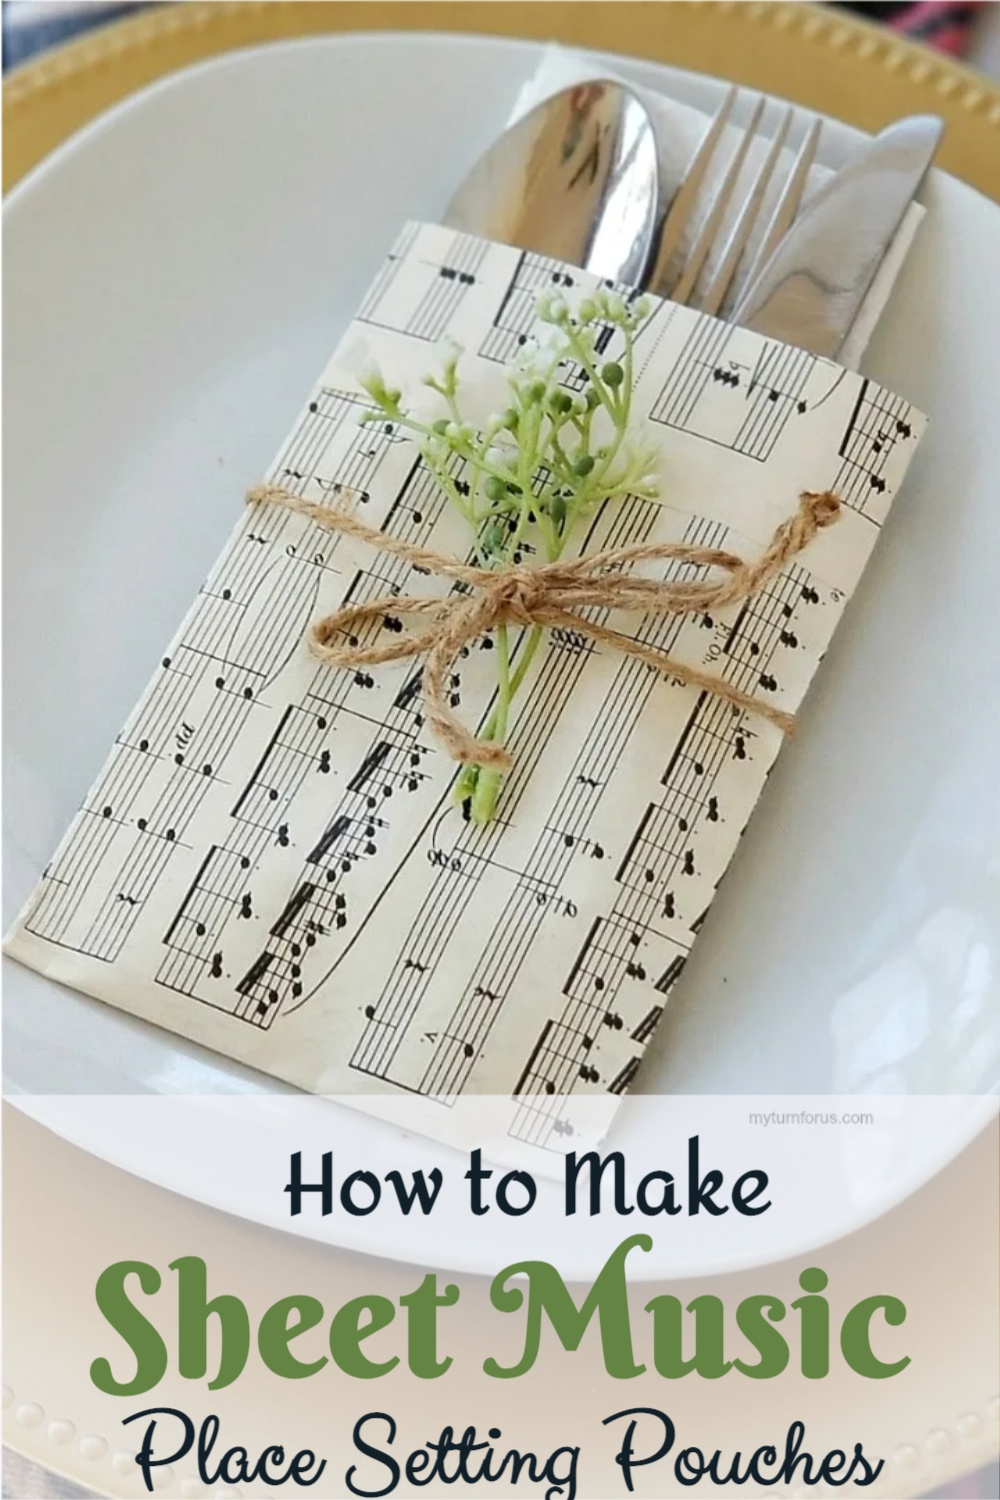
DIY Sheet Music Silverware Pouch
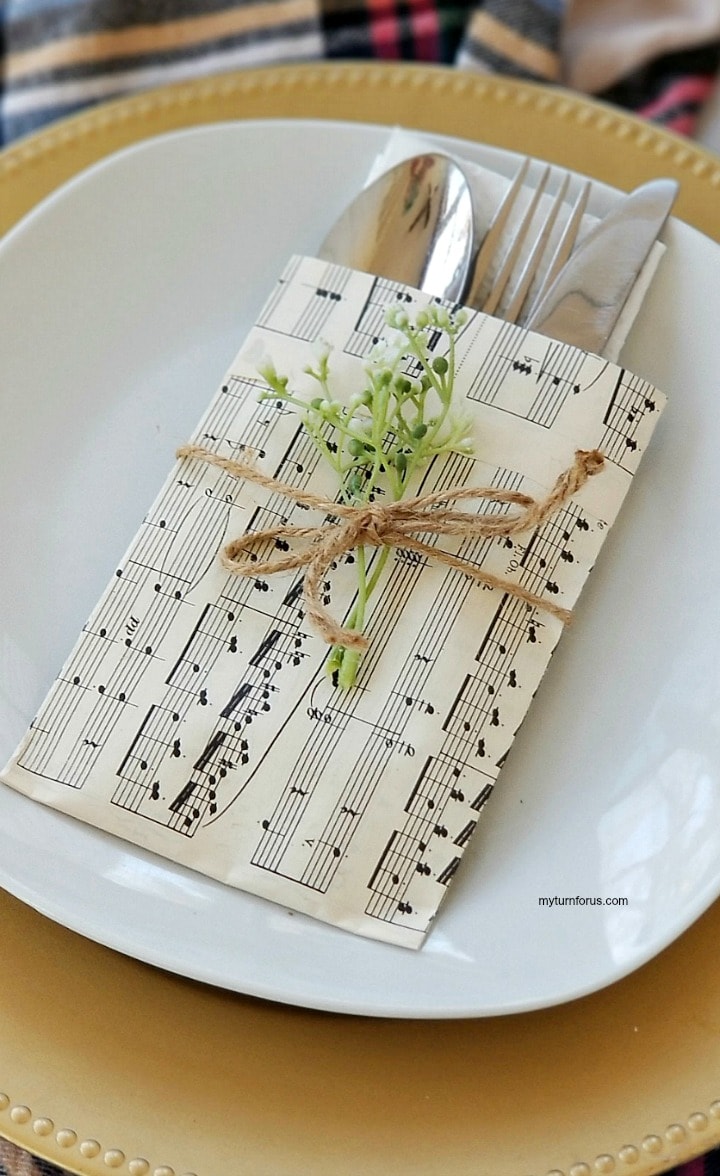
Make a simple sheet music silverware pouch using old music pages, twine, and a small sprig of greenery. These paper silverware pouches, also known as cutlery pouches, are inexpensive, easy to personalize, and a pretty way to dress up a family dinner, party, buffet, or holiday table.
I love homemade table decorations that look special without being fussy. These sheet music silverware pouches are made with just a few simple supplies, and they add a sweet vintage touch to each place setting.
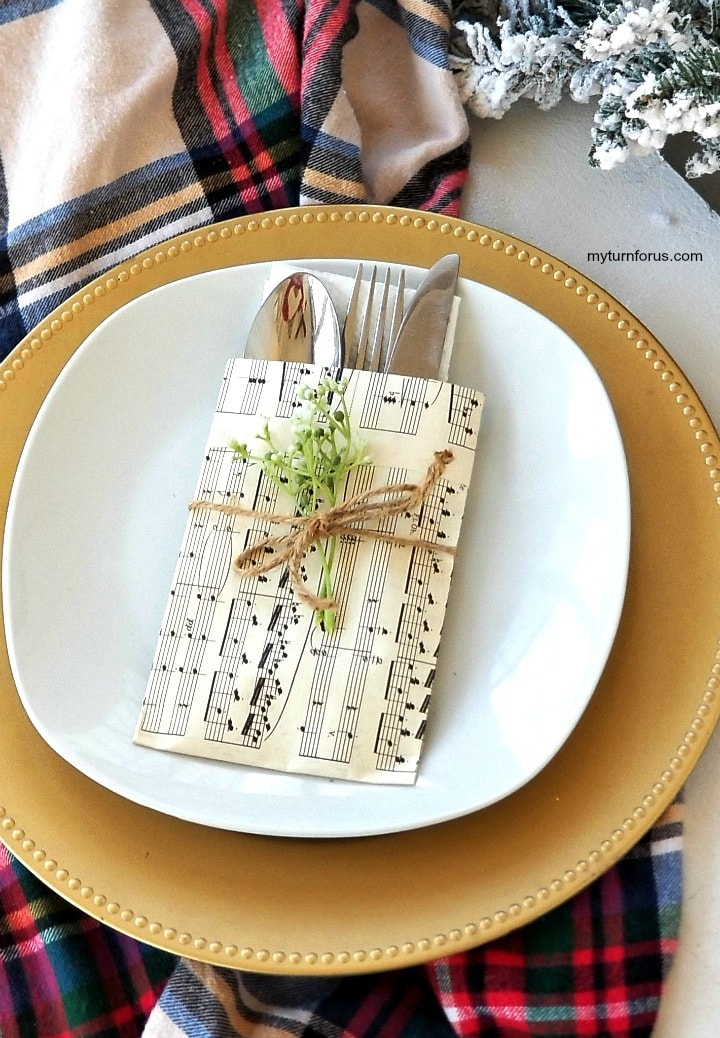
I used jute twine and greenery for mine, but this little project is easy to change with the seasons. Add fall leaves for Thanksgiving, flowers for spring, herbs for summer, or Christmas greenery for the holidays.
This post contains affiliate links, which means if you make a purchase, we might receive a small commission at no additional cost to you. Please read our Disclosure Policy.
You do not need to set a formal table to use them either. Fill each silverware pouch with a napkin and utensils, then arrange them in a basket beside a buffet or outdoor dinner table.
Why You’ll Love These Sheet Music Silverware Pouches
This is the kind of project I enjoy because it is useful, pretty, and easy to make with supplies I already have.
- Each pouch takes only a few minutes to fold and decorate.
- They cost very little to make.
- You can match the sheet music to your party or dinner theme.
- They work for place settings, buffets, family dinners, and celebrations.
- The decorations are easy to change for every season.

This is such an elegant table setting that costs almost pennies. In fact, we didn’t pay a penny for ours since we had all the materials in our craft room. And it only took us a couple of hours to make several of these sheet music pouches place settings for all our Christmas Dinner guests. And there are so many variations for these vintage-inspired sheet music pouches simply by changing it up a little.
Supplies I Used
The complete supply list is in the how-to card below, but these are the main materials I used and why they work well.
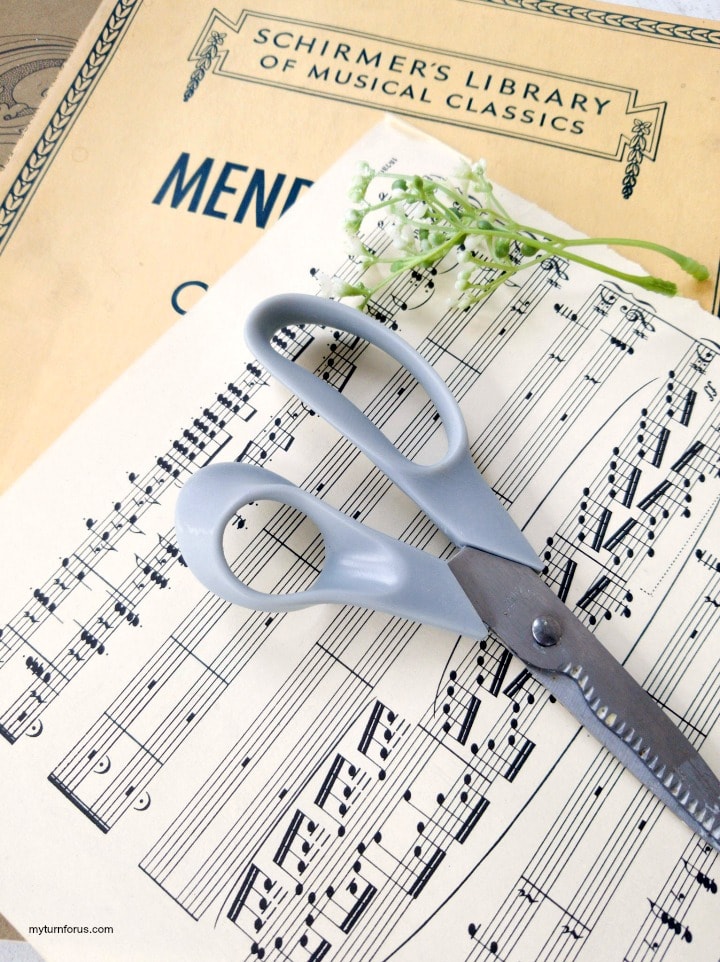
Sheet music: I used pages measuring about 9 by 12 inches. Old sheet music gives the pouch a lovely vintage look, but printed copies work just as well.
Clear Invisible Tape: Invisible tape keeps the folds secure without taking attention away from the music.
Twine or ribbon: I like jute twine for a rustic look, but narrow ribbon, baker’s twine, or fabric ribbon can make the pouch look more colorful or formal.
Greenery or flowers: A small sprig adds just enough decoration without getting in the way of the silverware.
Small charms or place name cards with a hole: These are optional, but they are a simple way to match a theme or turn the pouch into a place card.
Tools:
- Scissors
How to Make a Sheet Music Silverware Pouch
Step 1: Prepare the Sheet Music
Carefully remove one page from the music book and place it sideways on a flat surface.
Position the printed side you want to show facing upward, with the cut edge at the top and away from you.
Fold the top edge down about 1 inch and crease it firmly. This creates the finished band along the top opening of the pouch.
Step 2: Mark the Three Sections
Turn the paper over, keeping the folded edge at the top.
Fold the sheet loosely into thirds and crease the two fold lines. Open it again so you can see the three sections.
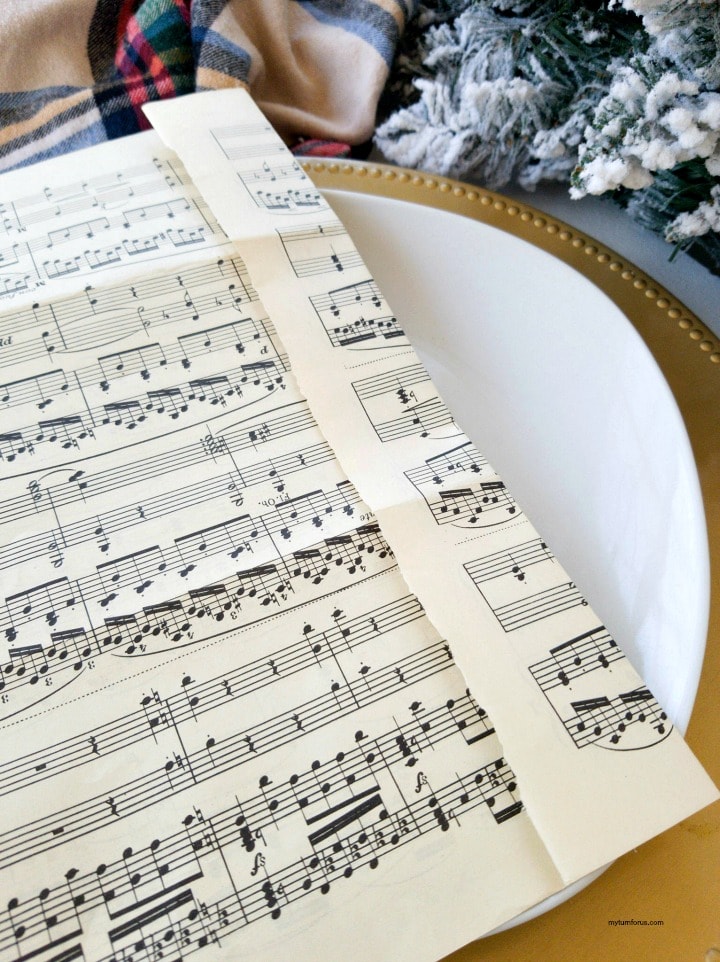
I like to make these creases first because they help keep the finished silverware pouch straight and even.
Step 3: Form the Bottom of the Pouch
Fold the left third toward the center.
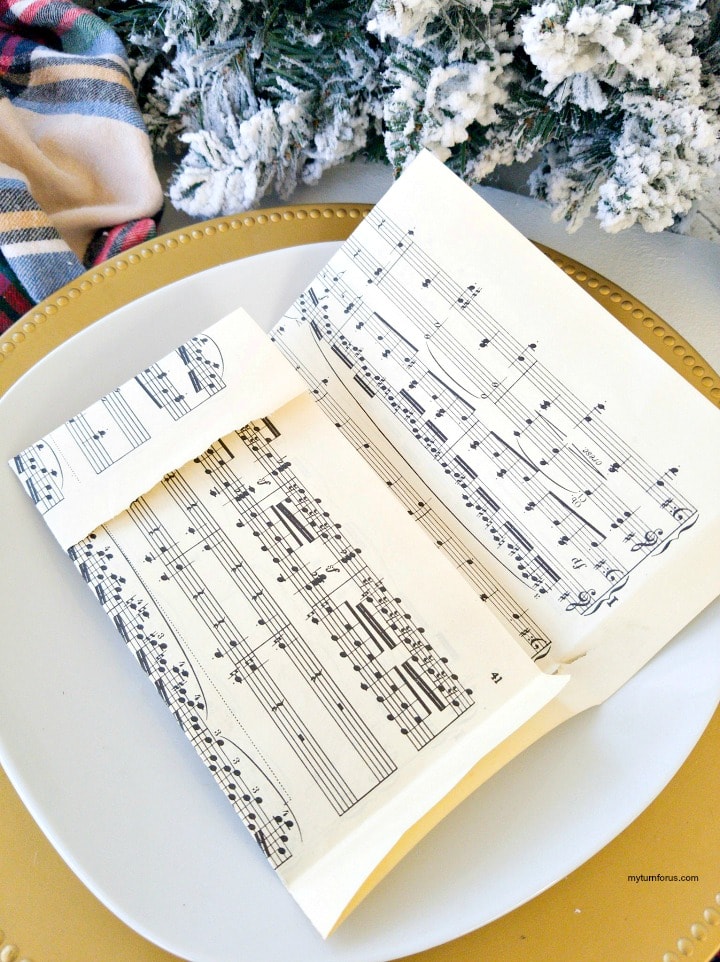
Next, fold the bottom edge upward about ½ to 1 inch. Secure this bottom fold with clear tape, but leave the right third open for now.
This little bottom fold matters because it keeps the silverware from slipping through the pouch.
Step 4: Close the Back
Fold the right third over the center and secure it with clear tape.
I use only as much tape as needed so the back stays neat and the paper does not become too stiff.
Turn the pouch over. The clean sheet music side will now be the front of your paper cutlery pouch.
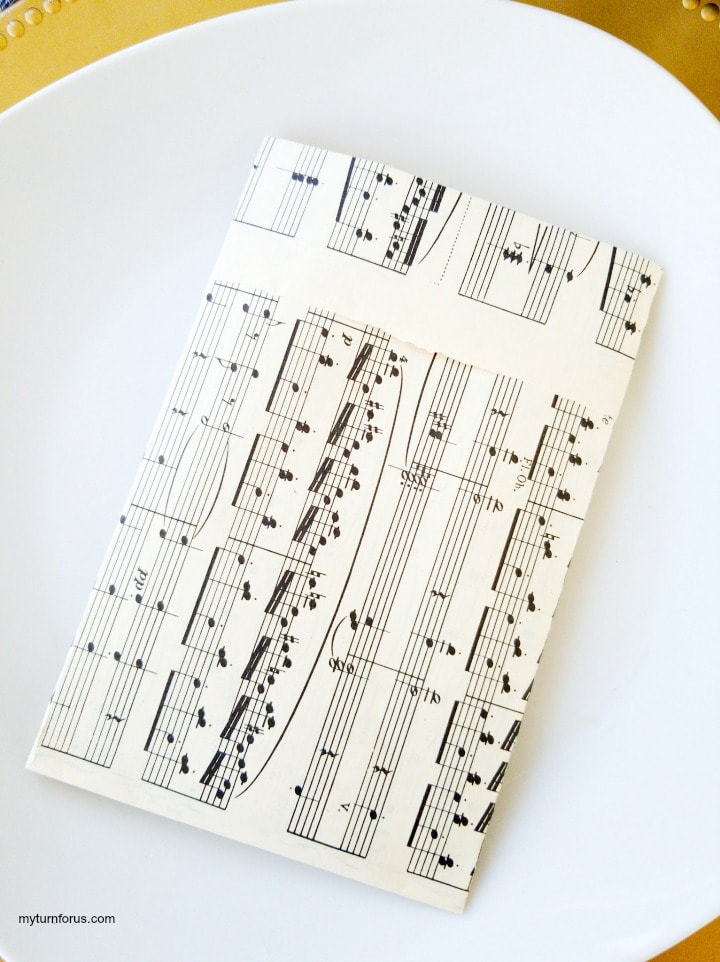
Now fold the third or the right side in and carefully tape it to secure it and then flip the pouch over. This will be the front of your music paper silverware pouch.
Step 5: Add the Decorations
Wrap twine, jute, or ribbon around the center of the pouch and tie it in a bow.
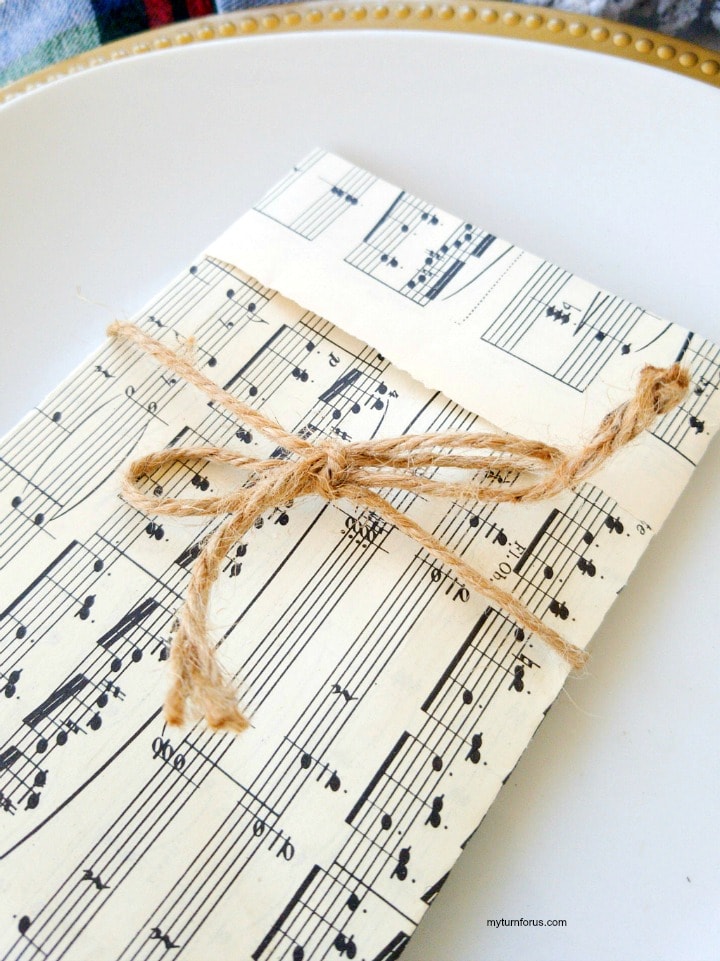
Tuck a small sprig of greenery, flowers, leaves, or another lightweight decoration beneath the bow.
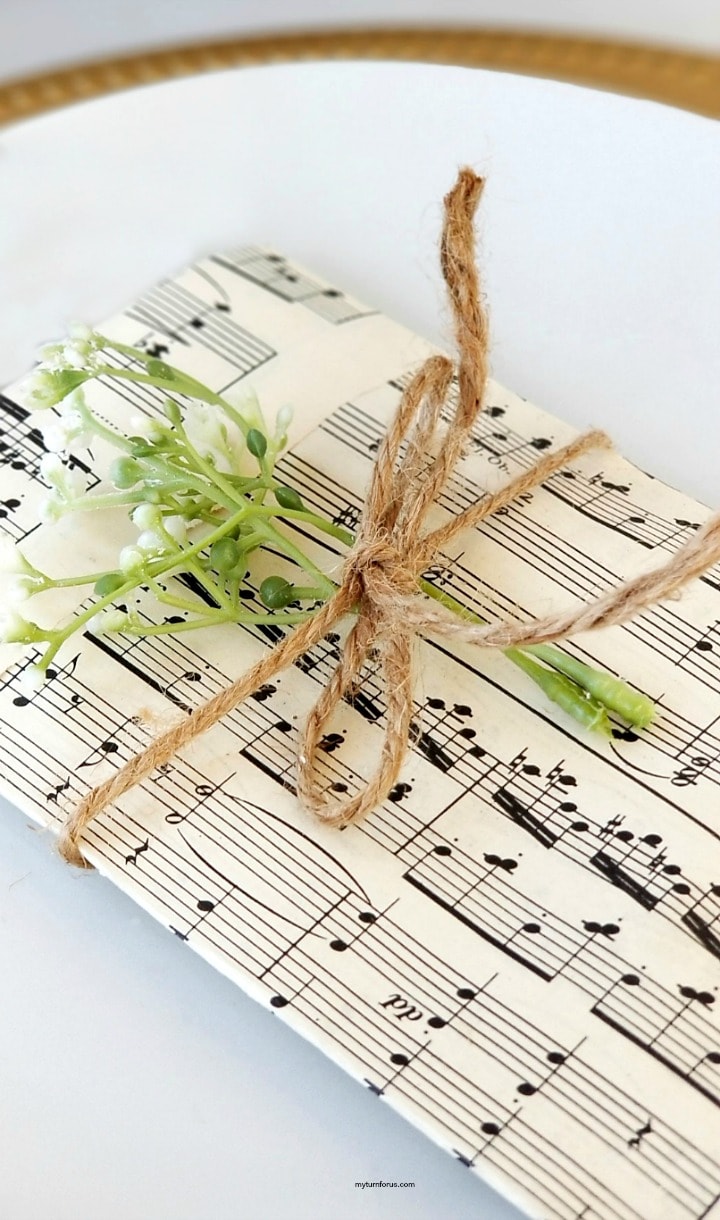
You can also add a tiny charm or place name tag when making these for a themed dinner or party.
Slide a napkin and your silverware into the opening, then place the finished pouch on the dinner plate.
Expert Tips
- Use printed copies when the sheet music is valuable or has sentimental meaning. You can scan or photocopy the pages and still keep the vintage look without cutting the original.
- Crease each fold firmly. Clean creases help the pouch hold its shape and make several pouches look more consistent when placed together.
- Keep the decorations small and lightweight. Large greenery or heavy charms may pull on the paper or make it harder for guests to remove their silverware.
- When making several pouches, I complete the same folding step on every sheet before moving to the next one. Working in batches saves time and helps keep them the same size.
Ways to Personalize Your Pouches
One of my favorite things about this project is how easy it is to change without changing the basic folds.
- Use Christmas carol sheet music with pine or cedar greenery for a holiday dinner.
- Choose religious music for an Easter table.
- Use songs from the 1950s for a rock-and-roll party.
- Add Beach Boys Music Sheets and a small seashell charm for a beach gathering.
- Choose familiar children’s songs for a birthday party.
- Use country music for a Western dinner, Texas barbecue, or cookout.
- Add fall leaves, wheat, or berries for a Thanksgiving table.
- Tuck in tiny flowers or herbs for a spring or summer dinner.
You can also attach a simple brown card with punch hole to the twine and write each guest’s name on it. The silverware pouch then doubles as a simple place card.
Frequently Asked Questions
Yes. Print sheet music onto standard printer paper and follow the same folding instructions. Slightly heavier paper will make a sturdier pouch, but thick cardstock may be harder to fold neatly.
I used sheets measuring about 9 by 12 inches. A similar size should work well, although you may need to adjust the folds slightly for smaller or larger paper.
They may be reused if guests handle them carefully and the paper stays clean. Removable decorations also make it easier to change the pouch for another occasion.
Old book pages, decorative scrapbook paper, maps, printed hymns, or copies of handwritten recipes can all work. Choose paper that folds cleanly and is not too thick.
More Table Setting Ideas and Crafts to Try
If you enjoy adding handmade touches to your table, you might also like these Farmhouse Wood Bead Napkin Ring, DIY Personalized Wine Glass Charms, or Thanksgiving Place Name Holders. You can also browse these 20 DIY Napkin Ring Ideas for more simple ways to dress up a family dinner or special gathering.
These sheet music silverware pouches are proof that a table does not need expensive decorations to feel welcoming. A page of music, a little twine, and something pretty from the garden or craft room can make an ordinary meal feel a little more personal.
When you make your own sheet music silverware pouch, I would love to hear how you decorated it. Leave a comment below, share a photo and tag me on Facebook, and please leave a star rating if you enjoyed this project. It helps more friends find these simple craft ideas.
✂️ Tutorial

Tools
Supplies
- Sheet Music 9 X 12
- Jute twine or ribbon
- Greenery of choice
- Themed Charm optional
- Place name cards with hole optional
- clear invisible tape
Instructions
- Remove or cut one page from a sheet music book.
- Place it sideways on a flat surface with the music you want displayed facing upward and the cut edge at the top.
- Fold the top edge down about 1 inch and crease it firmly.
- Turn the paper over, keeping the folded edge at the top.
- Fold the paper into thirds to mark the sections, crease the folds, and then open it again.
- Fold the left third toward the center.
- Fold the bottom edge upward about ½ to 1 inch.
- Tape this bottom fold in place, leaving the right third open.
- Fold the right third over the center and secure it with clear tape.
- Turn the pouch over so the printed front is facing upward.
- Wrap twine, jute, or ribbon around the center and tie it in a bow.
- Tuck a small sprig of greenery, flowers, leaves, or another lightweight decoration beneath the bow.
- Slide a napkin and silverware into the finished pouch.
- Place it on a dinner plate or arrange several pouches in a basket beside a buffet table.
Notes
- Use printed copies instead of original sheet music when the pages are valuable or sentimental.
- Complete each step in batches when making several pouches. This saves time and helps keep the folds consistent.
- Store finished paper pouches flat in a dry place. Add fresh greenery or flowers shortly before using them.
Click HERE to save this sheet music craft to Pinterest to share with others