
Peanut Butter Spider Cookies
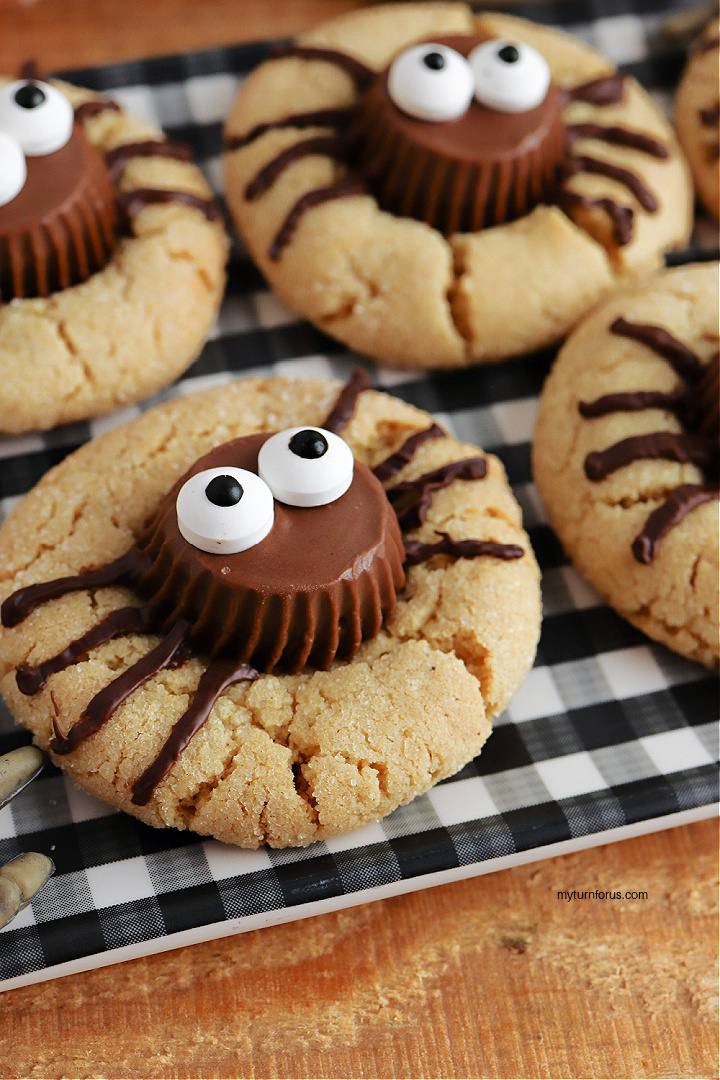
Halloween treats are a lot more fun when they are simple enough to make without turning the kitchen upside down. These peanut butter spider cookies start with a soft peanut butter cookie, then I add a mini Reese’s cup, candy eyes, and a few chocolate legs to turn each one into a little spider.
I especially like these because the decorating is easy enough for kids to help with, but they still look cute on a Halloween party tray. And since chocolate and peanut butter already belong together, nobody has to sacrifice flavor just to make a festive cookie.
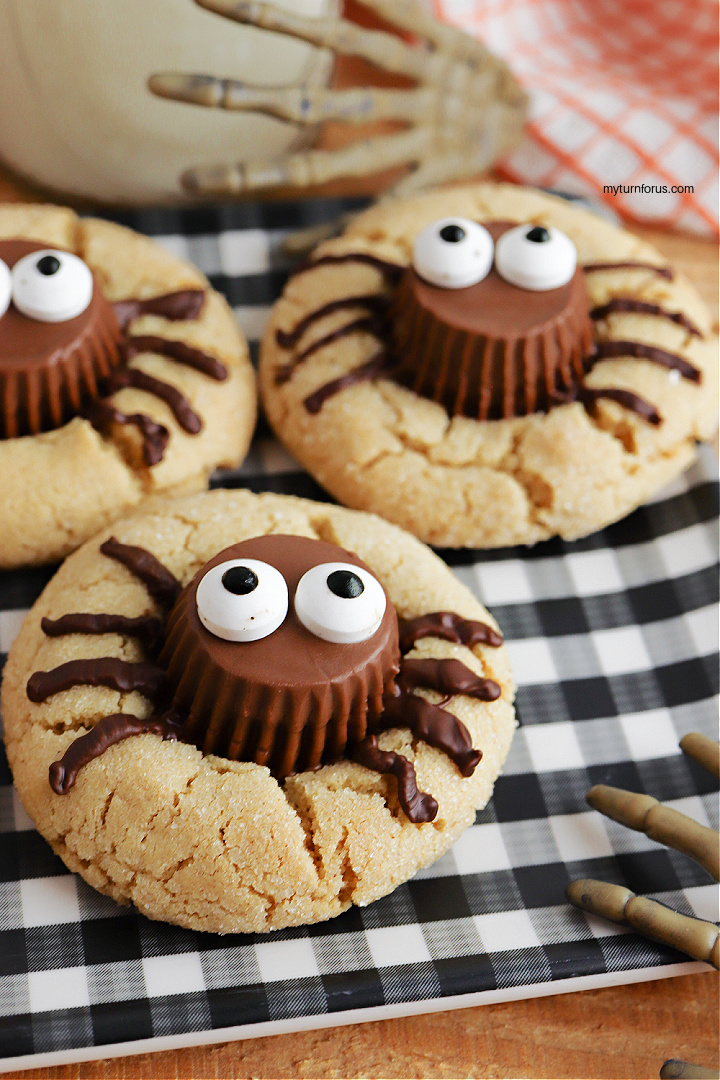
If I’m making several Halloween treats at once, I like recipes like this one that use familiar ingredients and don’t require any fancy decorating skills. They would be fun alongside my Mummy Dogs or a batch of Walking Dirt and Worms Pudding.
This post contains affiliate links, which means if you make a purchase, we might receive a small commission at no additional cost to you. Please read our Disclosure Policy.
Why I Think You’ll Love These Spider Cookies
These are basically peanut butter blossom cookies dressed up for Halloween, so there isn’t anything complicated about them.
- The peanut butter cookies stay soft with lightly golden edges.
- Mini Reese’s cups make an easy spider body.
- Melted chocolate works as both the spider legs and the “glue” for the candy eyes.
- You can bake the cookies ahead and decorate them once they are completely cool.
- They are easy enough to make with kids or grandkids without needing complicated piping.
Key Ingredients I Use
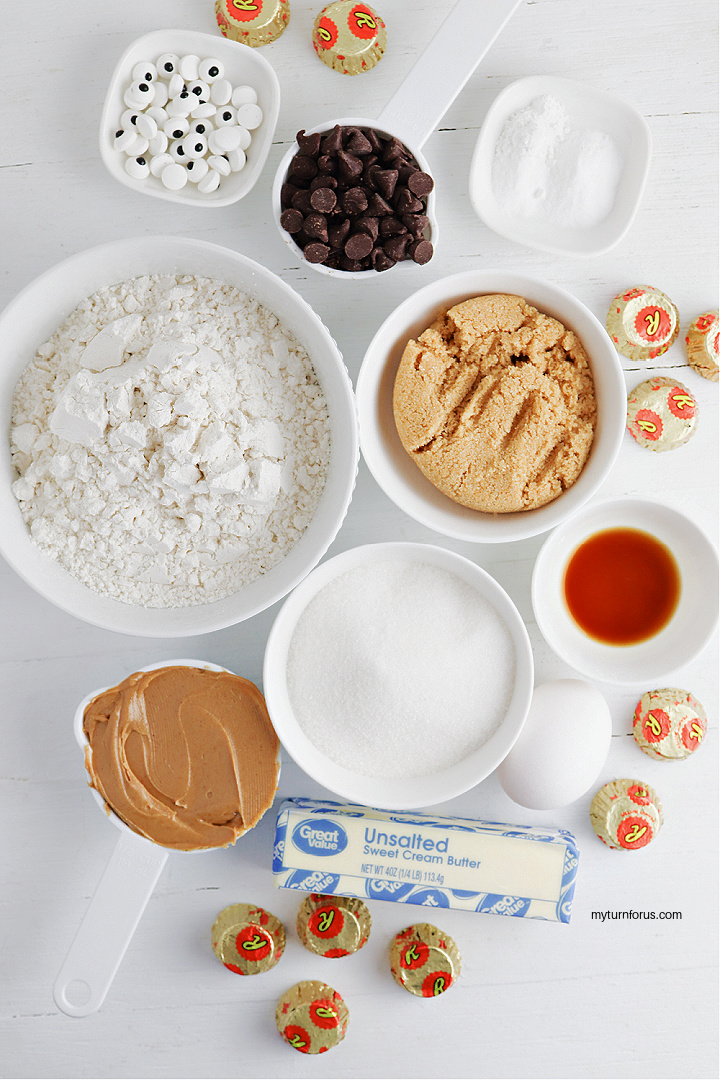
Creamy peanut butter: I prefer creamy peanut butter here because it gives me a smooth dough that is easy to scoop and roll. It also gives the cookies that familiar peanut butter blossom texture.
Butter: Softened butter creams easily with the peanut butter and sugars. I let mine soften at room temperature rather than melting it because melted butter can make the cookies spread more.
Brown sugar and granulated sugar: I use both. Brown sugar adds moisture and a little deeper flavor, while granulated sugar helps give the cookies their lightly crisp edges.
Mini Reese’s peanut butter cups: These become the spider bodies. I unwrap them before the cookies come out of the oven because they need to be pressed into the cookies while they are still warm.
Chocolate chips: You only need a small amount. I melt them and pipe the chocolate directly onto the cooled cookies for the eight spider legs.
Candy Edible Googly Eyes: These are an easy finishing touch and make each spider look a little different. I attach them with a small dab of melted chocolate.
Equipment Needed:
- Baking Sheet
- Parchment Paper
- Mixing Bowls
- Wilton Disposable piping bag
How to Make Peanut Butter Spider Cookies
The complete recipe is in the recipe card below, but here is how I put these Halloween spider cookies together step by step.
Step 1: Mix the Dry Ingredients
Preheat the oven to 375°F and line a baking sheet with parchment paper.
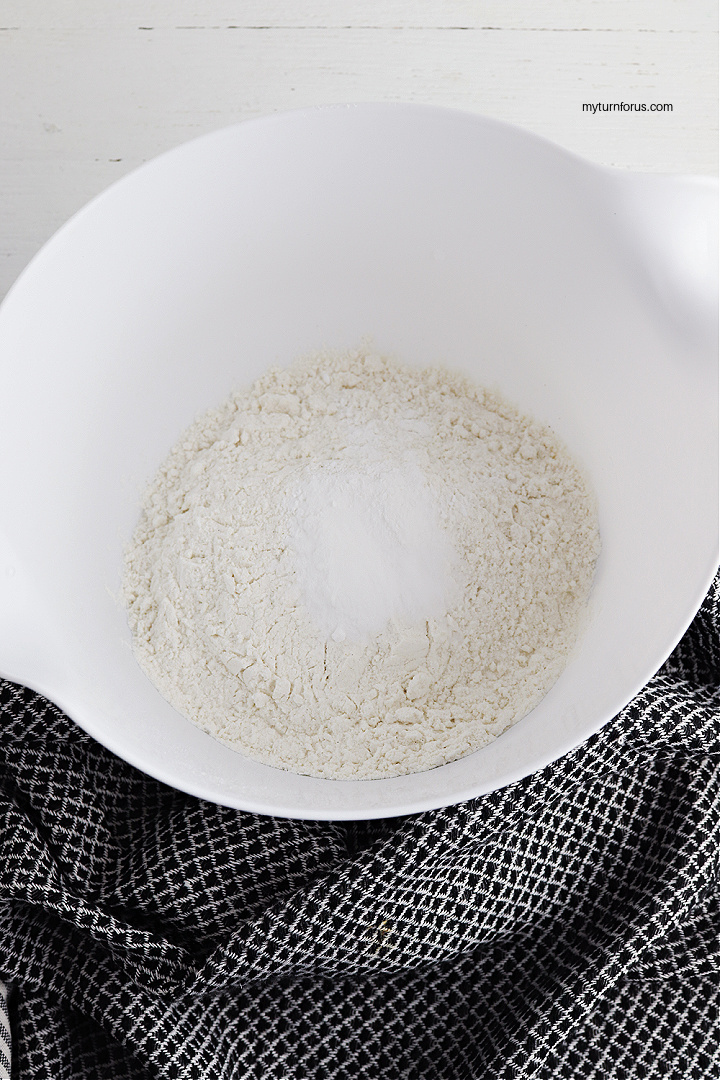
Add the flour, baking soda, and baking powder to a medium bowl and whisk them together. I like mixing the dry ingredients separately first so the leavening is evenly distributed before it goes into the cookie dough.
Set the bowl aside.
Step 2: Cream the Butter, Peanut Butter, and Sugars
In a large mixing bowl, add the softened butter, peanut butter, granulated sugar, and brown sugar.
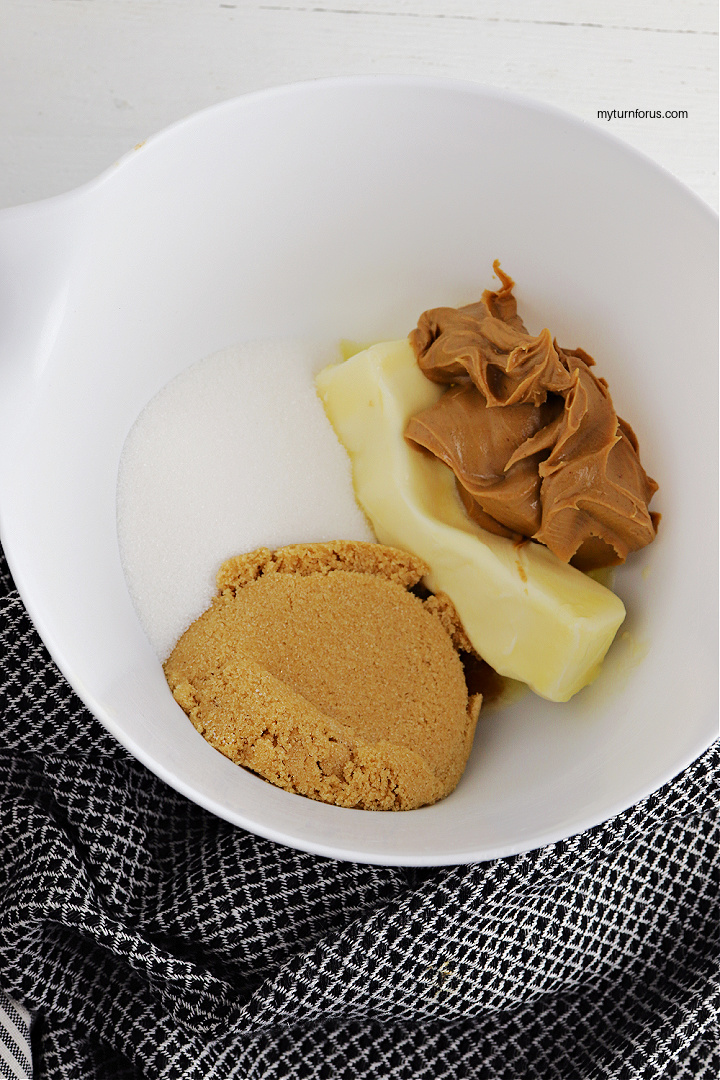
Beat everything together until the mixture is smooth and creamy.
Add the egg and vanilla extract and continue beating until the mixture looks light and well combined.
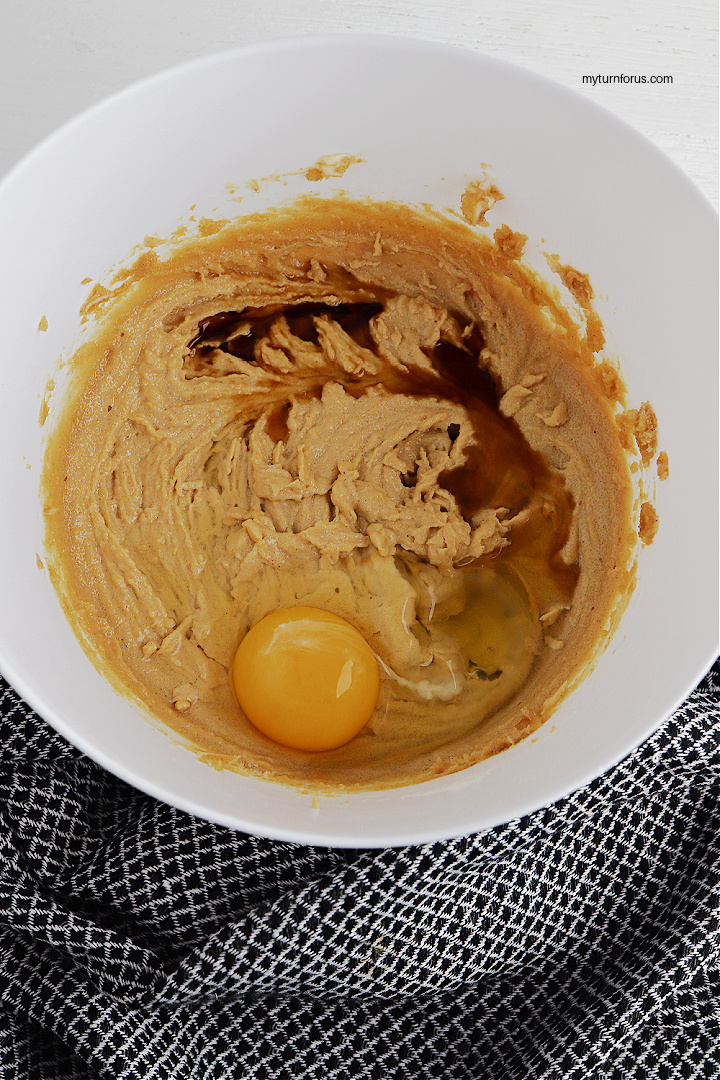
Step3: Add the Flour
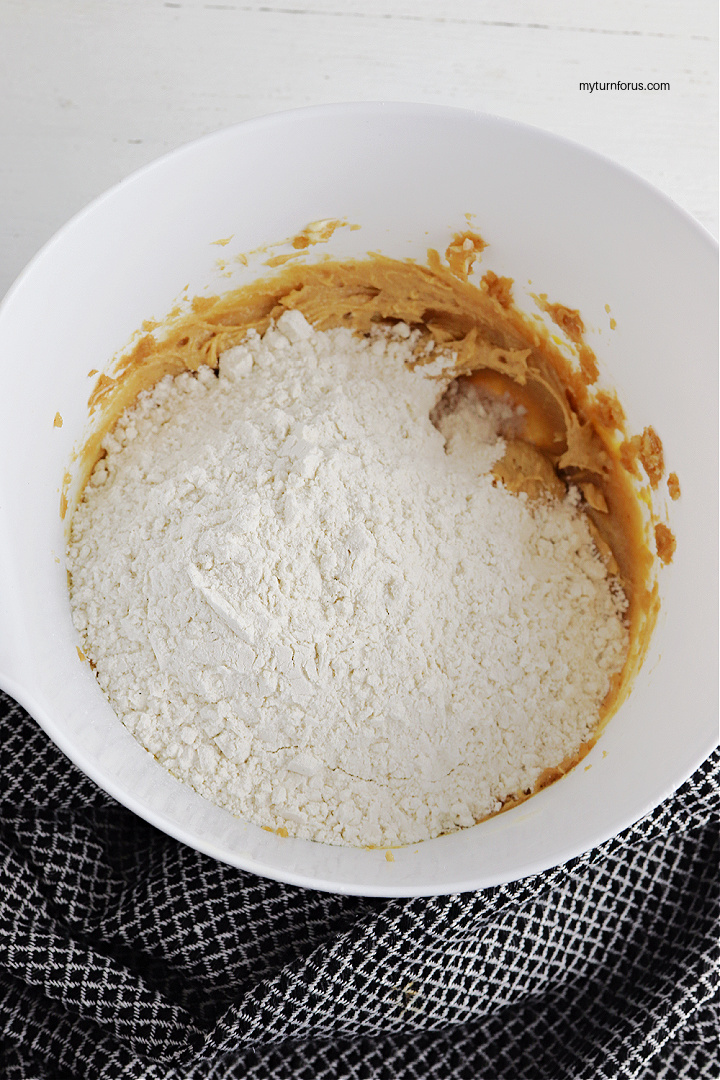
Add the flour mixture to the peanut butter mixture and beat on low just until the dough comes together.
I stop mixing once I no longer see dry flour. There is no need to keep beating the dough after that.
If your dough feels especially soft or sticky, cover it and refrigerate it for about 30 minutes. Chilling makes it much easier to roll without adding extra flour.
Add the egg and the vanilla extract and beat to combine all the ingredients. The mixture will be light and fluffy.
Step 4: Roll the Cookie Dough in Sugar
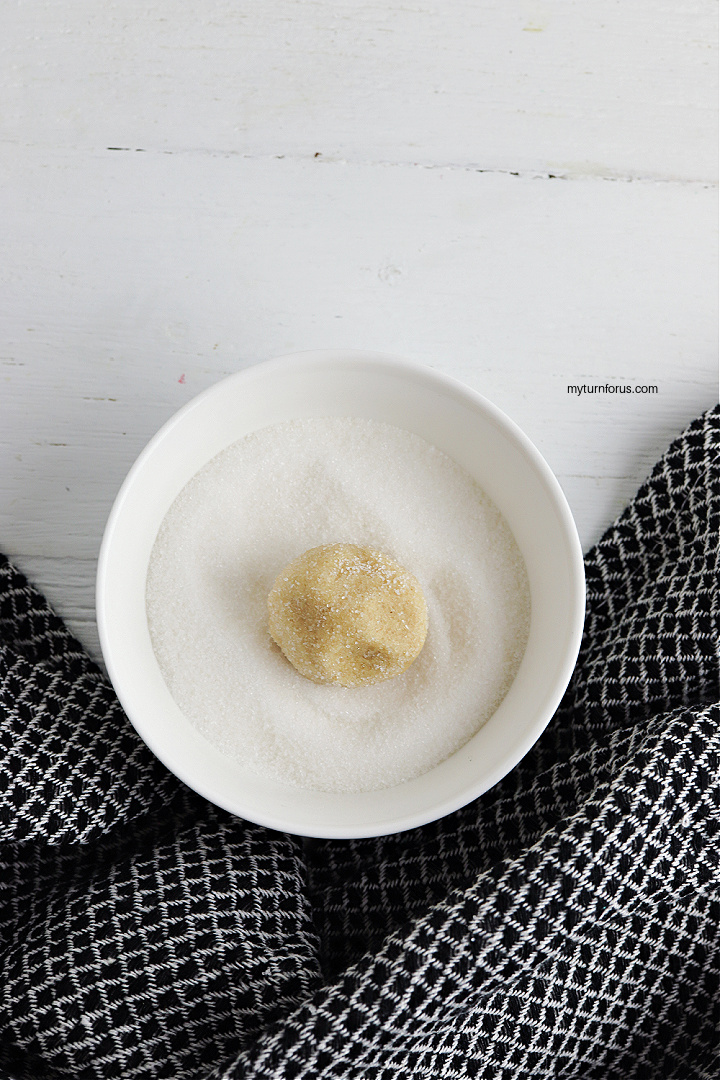
Place the sugar for rolling in a small bowl.
Use a tablespoon or small cookie scoop to portion the dough. Roll each portion between your hands to form a ball, then roll it in the sugar until the outside is coated.
Continue until you have used all the dough.
Step 5: Bake the Peanut Butter Cookies
Place the cookie dough balls on the parchment-lined baking sheet, leaving a little room between each one.
Lightly press each ball down with your hand.
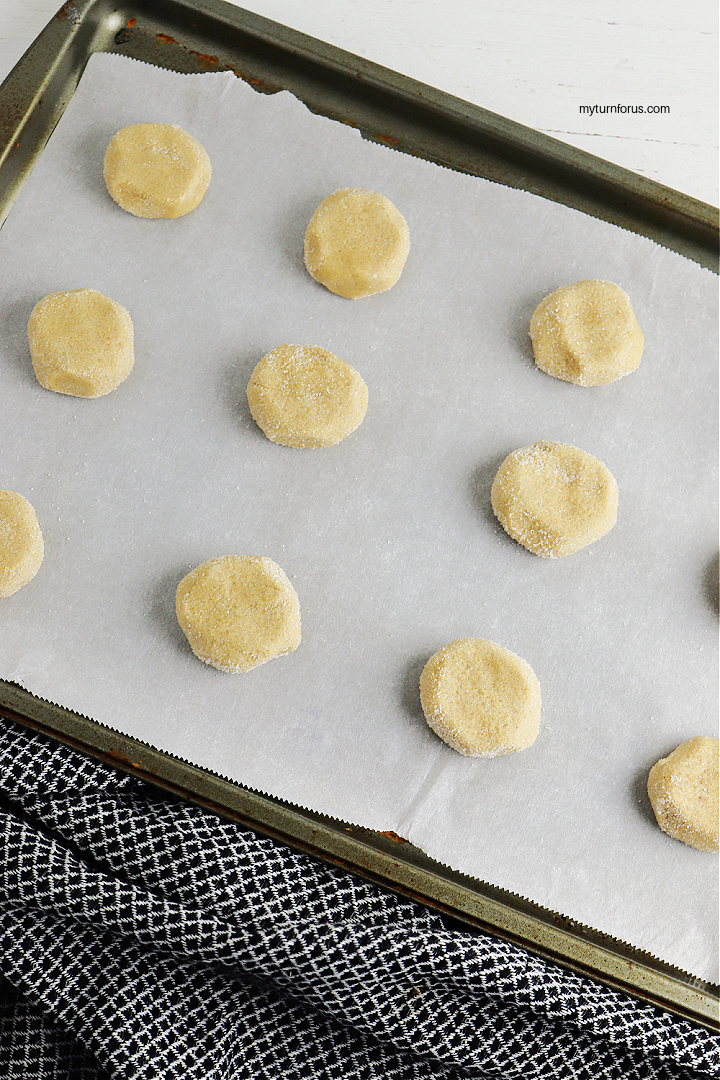
Bake for 8 to 10 minutes, or until the bottoms are lightly golden but the tops are still a little soft.
I don’t like to overbake these. They will continue setting as they sit on the hot baking sheet, and keeping the centers soft gives them a much nicer texture once they cool.
Step 6: Add the Reese’s Cup Spider Bodies
This part needs to be done while the cookies are still warm.
As soon as the cookies come out of the oven, gently press one mini Reese’s peanut butter cup upside down into the center of each cookie.
Press just enough to set it into the soft cookie. If you push too hard, the cookie may crack or the peanut butter cup may start melting more than you want.
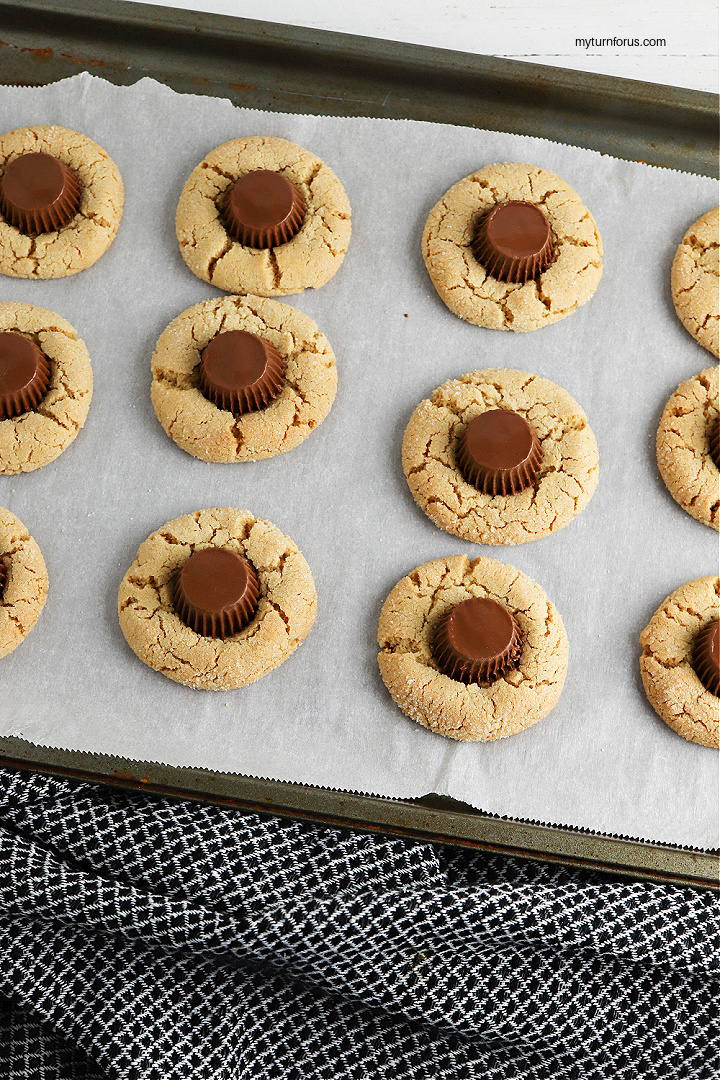
Let the cookies cool on the baking sheet for about 5 minutes, then move them to a wire rack and let them cool completely.
Step 7: Melt the Chocolate
Once the cookies are cool, place the chocolate chips in a microwave-safe piping bag.
Microwave at 50% power for 1 minute, then carefully knead the bag to move the chocolate around.
Continue heating in 30-second intervals at 50% power, kneading between each interval, until the chocolate is melted and smooth.
I like to let the bag sit in the microwave for another 30 to 60 seconds after heating. The residual warmth usually finishes melting any small pieces without overheating the chocolate.
Knead the bag again, then snip a very small opening from the tip.
Step 8: Add the Spider Legs and Eyes
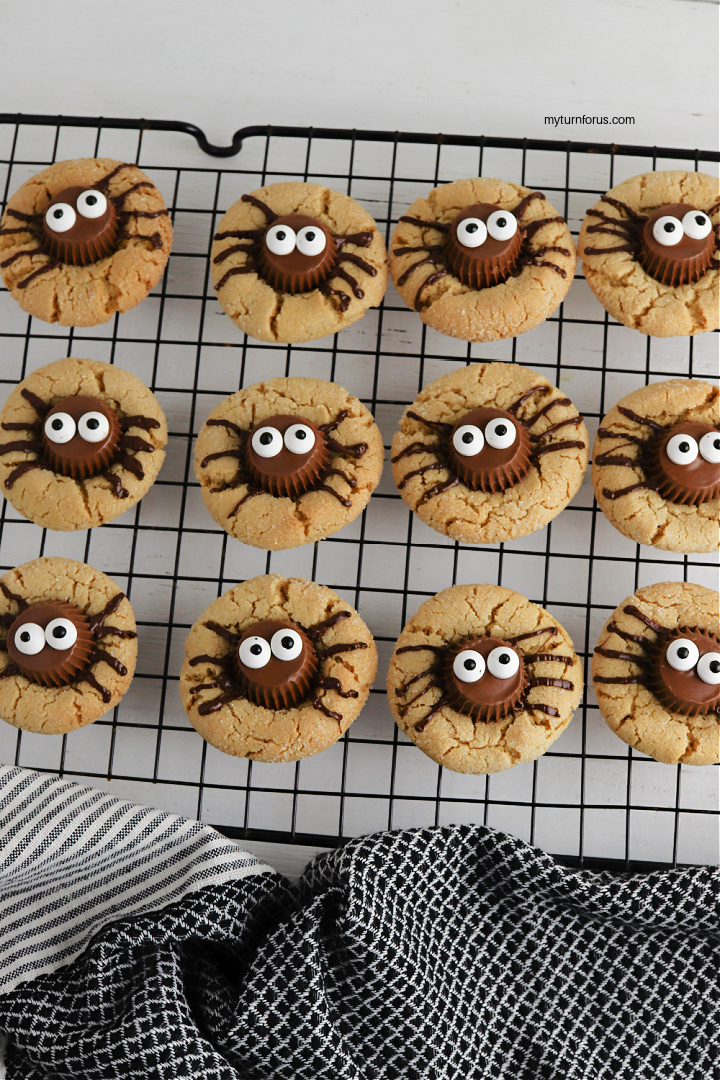
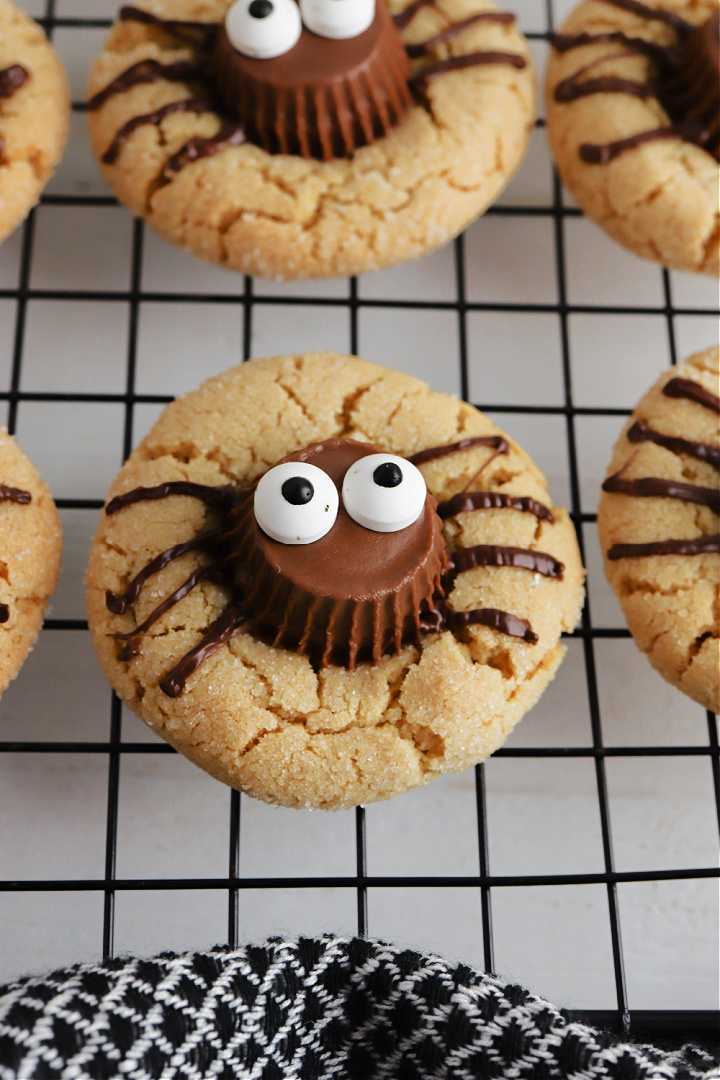
Pipe four chocolate legs on each side of the Reese’s cup for a total of eight legs.
I keep the opening in the piping bag small because thinner chocolate lines are much easier to control.
Add a tiny dab of melted chocolate to the back of each candy eye and attach two eyes to the top of the peanut butter cup.
Let the chocolate cool and harden before serving or storing the cookies.
Expert Tips
These are simple cookies, but a few little things make decorating them much easier.
- Have the Reese’s cups unwrapped before baking. Once the cookies come out of the oven, you want to add them right away while the centers are still soft.
- Chill sticky dough instead of adding extra flour. Extra flour can make the cookies dry. Thirty minutes in the refrigerator usually makes soft dough much easier to handle.
- Let the cookies cool before piping the legs. If the cookies or peanut butter cups are still warm, the decorating chocolate can melt and spread.
- Cut a tiny opening in your piping bag. Start smaller than you think you need. You can always make the opening larger, but you cannot make it smaller again.
- Don’t worry about making every spider identical. A few crooked legs or mismatched eyes only make these more fun.
Easy Variations
I keep these pretty simple, but there are a few small changes you can make.
You can use chocolate candy melts instead of chocolate chips if that is what you already have for decorating.
Different sizes and styles of candy eyes are also fun, especially if the kids are helping. Some spiders can have big eyes, tiny eyes, or even more than two.
And if you like a little extra chocolate, drizzle a small amount over the finished cookies after adding the spider legs.
Leftovers and Storing
Once the decorating chocolate has completely hardened, store the cookies in an airtight container at room temperature for about 3 to 4 days.
If I need to stack them, I place parchment or wax paper between the layers so the Reese’s cups and chocolate legs don’t rub against the cookies above them.
You can also bake the peanut butter cookies a day ahead. Add the Reese’s cups while the cookies are warm, then decorate them with the legs and eyes the following day.
Frequently Asked Questions
Yes. You can make the dough ahead, cover it tightly, and refrigerate it. Let it sit at room temperature for a few minutes if it becomes too firm to scoop easily.
The cups will soften a little when you press them into the warm cookies. That is normal. Press them in gently and then leave them alone while the cookies cool. Moving them around while they are warm can make them lose their shape.
Absolutely. I would handle melting the chocolate and cutting the piping bag, then let the kids add legs and candy eyes once the chocolate is cool enough to handle safely.
I recommend the mini Reese’s cups. Regular-size cups are much too large for these cookies and can overwhelm both the cookie and the spider design.
More Halloween Treats to Make
If you are planning a Halloween party or just want a few more fun treats for the family, try these Creepy Halloween Ice Cube Eyeballs and the Mummy Dogs for drinks or make an Oogie Boogie Cocktail or Mocktail for the grown-ups and kids. A few simple spooky recipes together can make a Halloween table feel festive without spending all day in the kitchen.
These peanut butter spider cookies are one of those Halloween treats that look like you fussed over them more than you really did. I’m always happy with that kind of recipe.
If you make them, leave me a comment and rating below and let me know how your little spiders turned out.
🥣 Recipe

Ingredients
- 1 ½ cups flour
- 1 teaspoon baking soda
- ½ teaspoon baking powder
- ½ cup sugar
- ½ cup brown sugar
- ½ cup creamy peanut butter
- ½ cup butter softened
- 1 egg
- 1 teaspoon vanilla extract
- 36 Mini Reese’s peanut butter cups
Ingredients for decorating
- ⅓ cup sugar
- ¼ cup chocolate chips melted
- 72 Candy Edible Googly Eyes
Instructions
- Preheat oven to 375°F. Line a baking sheet with parchment paper.
- Whisk together the flour, baking soda, and baking powder in a medium bowl. Set aside.
- In a large bowl, beat the softened butter, peanut butter, granulated sugar, and brown sugar until smooth and creamy.
- Add the egg and vanilla and beat until combined.
- Add the dry ingredients and mix on low just until the dough comes together. If the dough is too sticky to roll, cover and chill for about 30 minutes.
- Place the sugar for rolling in a small bowl. Scoop the dough by tablespoonfuls, roll into balls, then coat each ball in sugar.
- Place the dough balls on the prepared baking sheet and lightly flatten each one with your hand.
- Bake for 8–10 minutes, until the bottoms are lightly golden and the tops are still slightly soft.
- Immediately press one mini Reese’s cup upside down into the center of each warm cookie.
- Let the cookies cool on the baking sheet for 5 minutes, then transfer them to a wire rack to cool completely.
- Melt the chocolate chips in a microwave-safe piping bag at 50% power, kneading between short intervals until smooth.
- Pipe four chocolate legs on each side of the Reese’s cup.
- Use a small dab of melted chocolate to attach two candy eyes to each spider.
- Let the chocolate harden completely before serving or storing.
Notes
- Unwrap the Reese’s cups before the cookies come out of the oven so you can press them in while the cookies are still warm.
- Chill sticky dough instead of adding extra flour.
- Let the cookies cool completely before piping the legs.
- Cut only a tiny opening in the piping bag for thinner, easier-to-control spider legs.
Nutrition
Click HERE to save these Chocolate Peanut Butter Spider Cookies to Pinterest